
The complete guide
How To Choose A Camera Backpack That Actually Fits Your Kit
The two-bag problem
Here is how it usually goes. You buy a camera, it comes with a flimsy shoulder bag, and that bag holds the camera and nothing else. So on any day you are shooting, you carry the camera bag on one shoulder and a normal backpack on the other with your laptop, water, charger and jacket. By lunchtime one shoulder hurts and you have put the camera bag on the ground in six different places you would rather not think about.
A proper camera backpack solves that by stacking the two jobs vertically. Gear at the bottom in padded, divided space. Everything else above and around it. One set of straps, weight split evenly across your back, nothing swinging into your hip when you crouch for a low angle.
This bag does that at 23 litres, which is the size most photographers land on. Smaller packs force you to leave a lens at home. Larger ones encourage you to carry things you never use, and then you resent the weight by mid-afternoon.
How the inside works
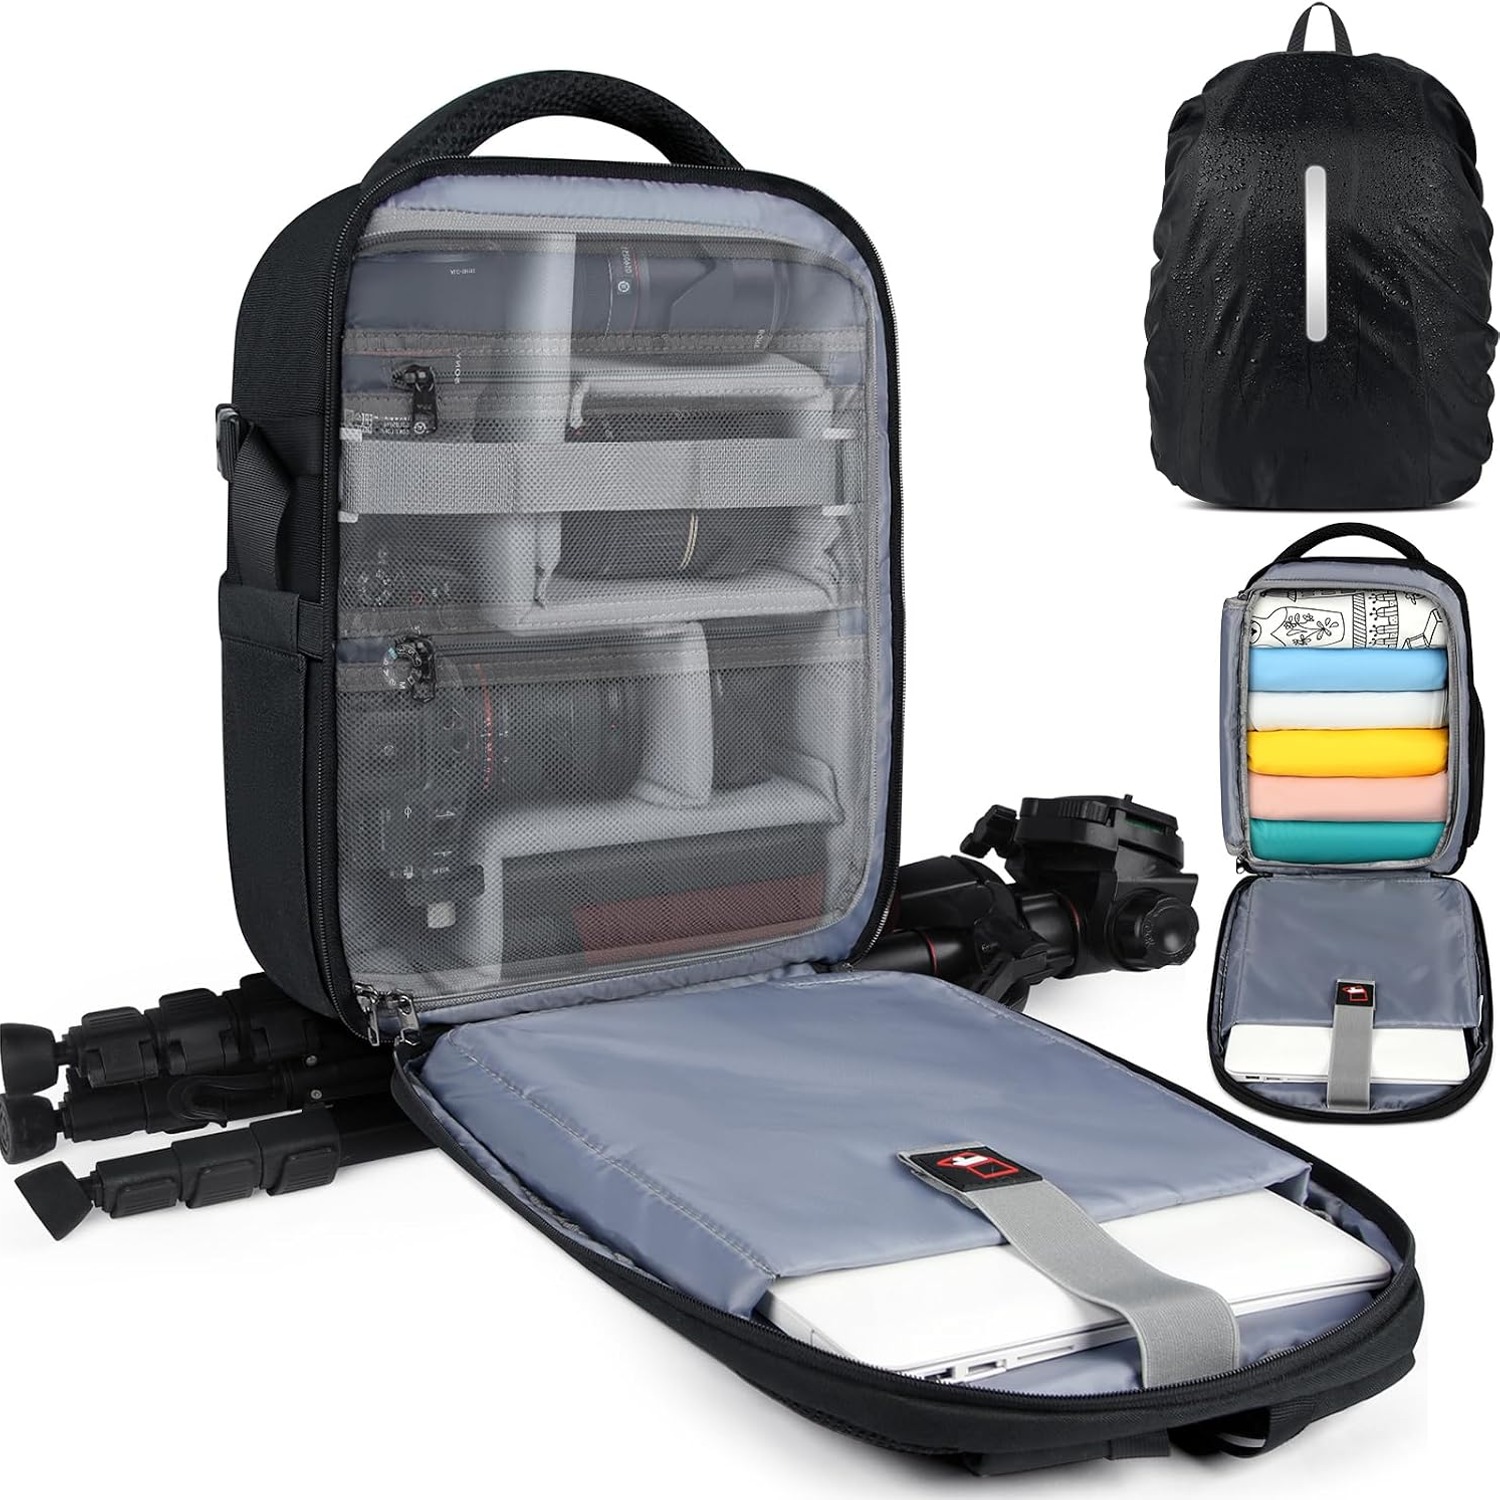
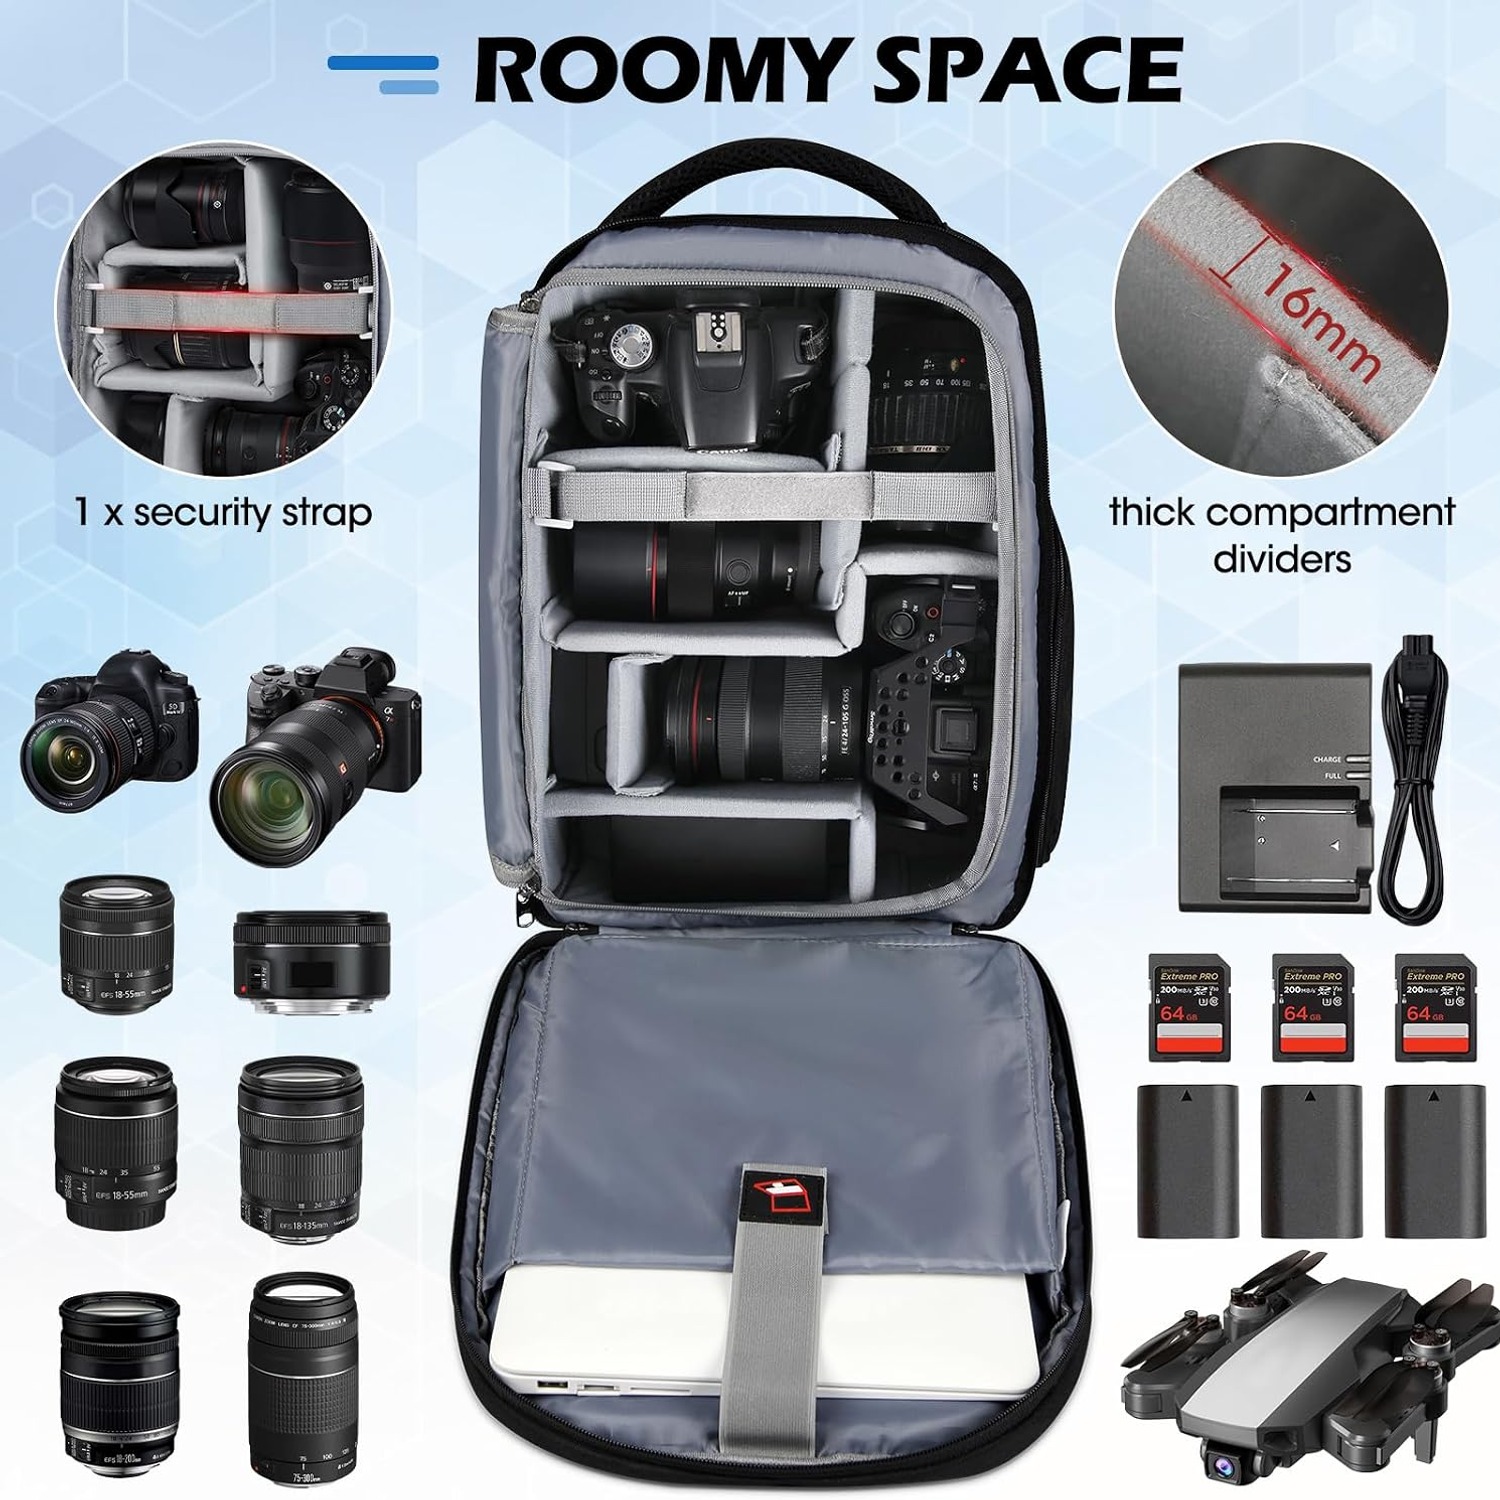
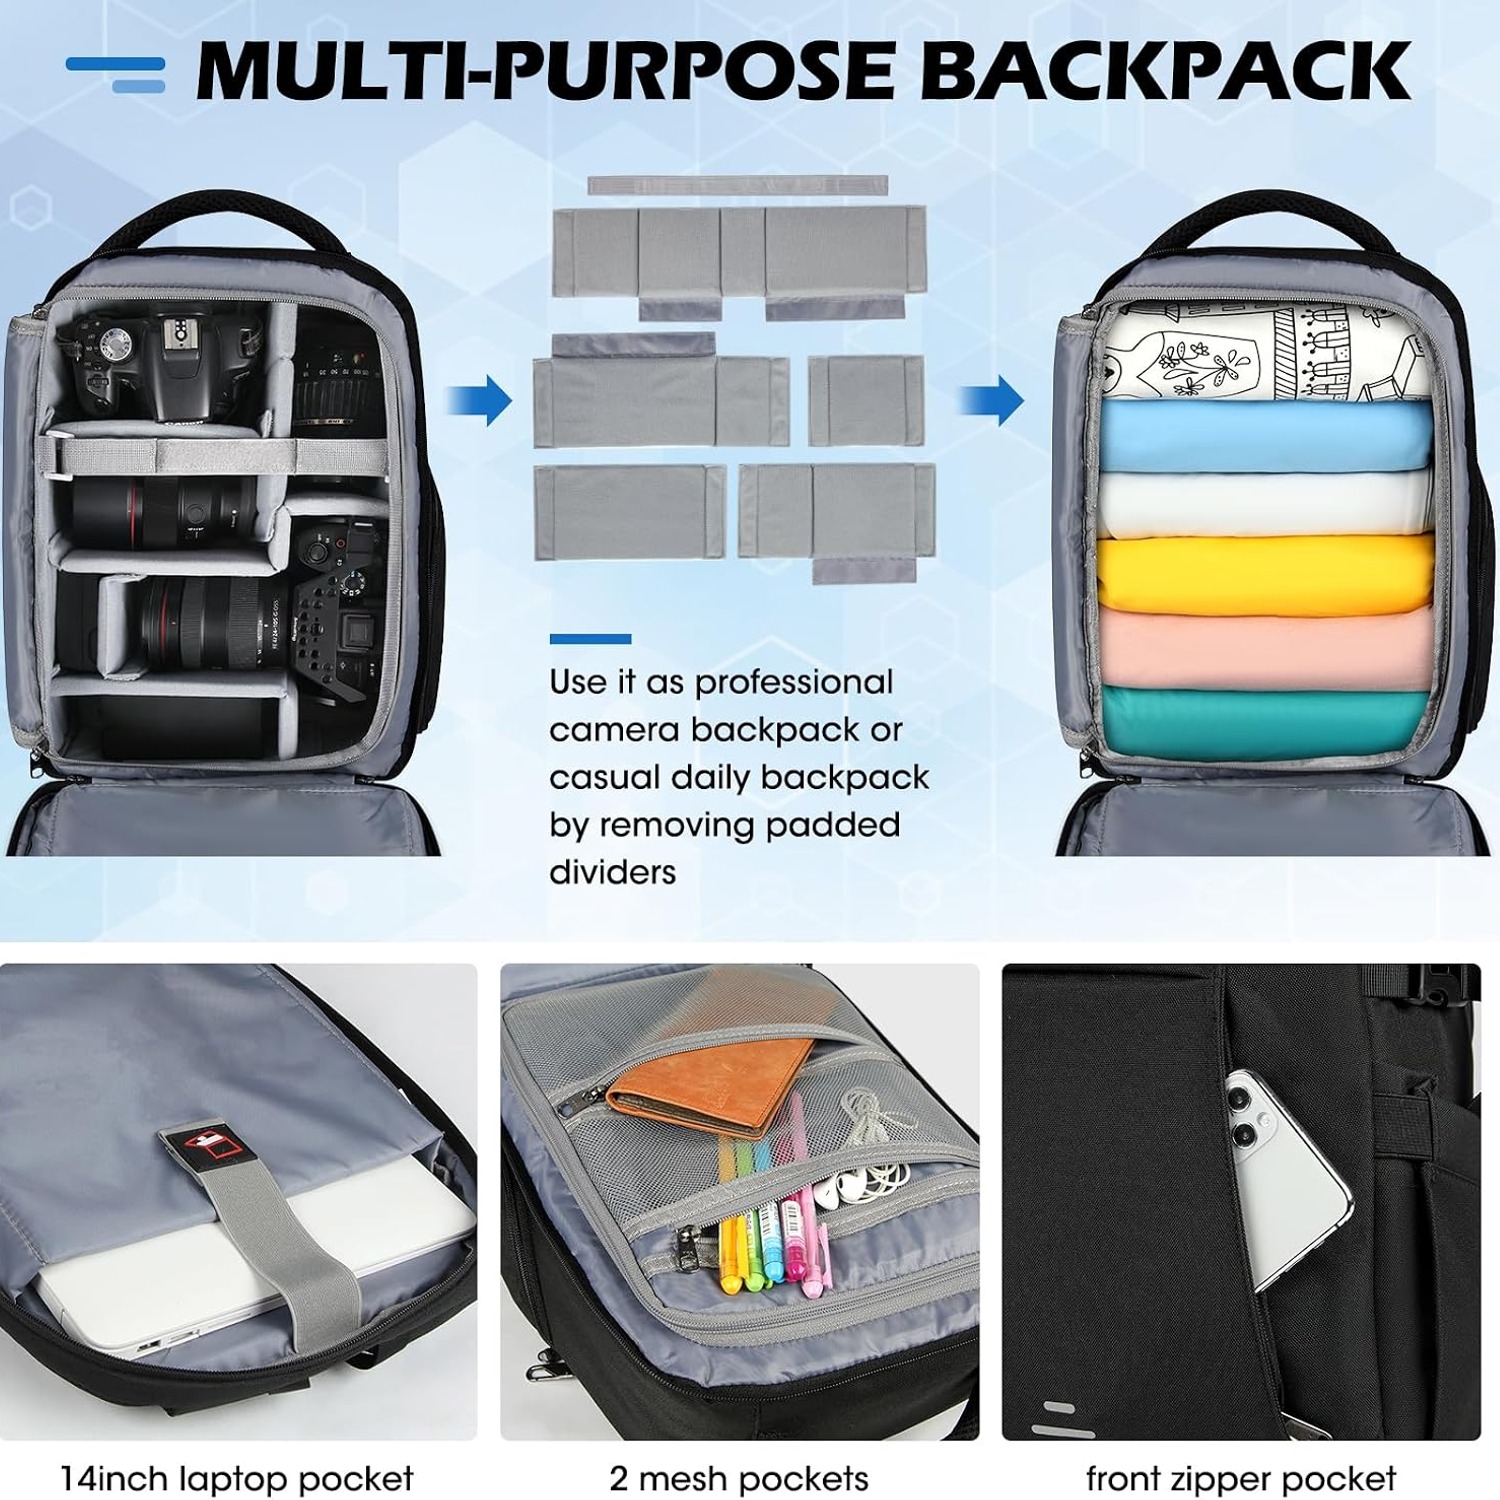
The lower section is the camera case. It has thick foam around it and comes with five removable padded dividers plus one fixed strap. That number matters more than it sounds. Five dividers gives you up to six bays, which is enough to separate a body with a lens attached from four more lenses and a flash.
The dividers attach with hook-and-loop, so you rebuild the layout in about two minutes. Most people set it up once, use it for a week, then move two dividers because they realised the 70-200 needs a taller bay than they allowed for. That is normal. The whole point of a movable system is that your first guess does not have to be right.
Above the camera section sits a padded sleeve rated for a 14-inch laptop or a 12.9-inch tablet. It is a separate pocket, so sliding the laptop out at airport security does not expose your lenses to the world.
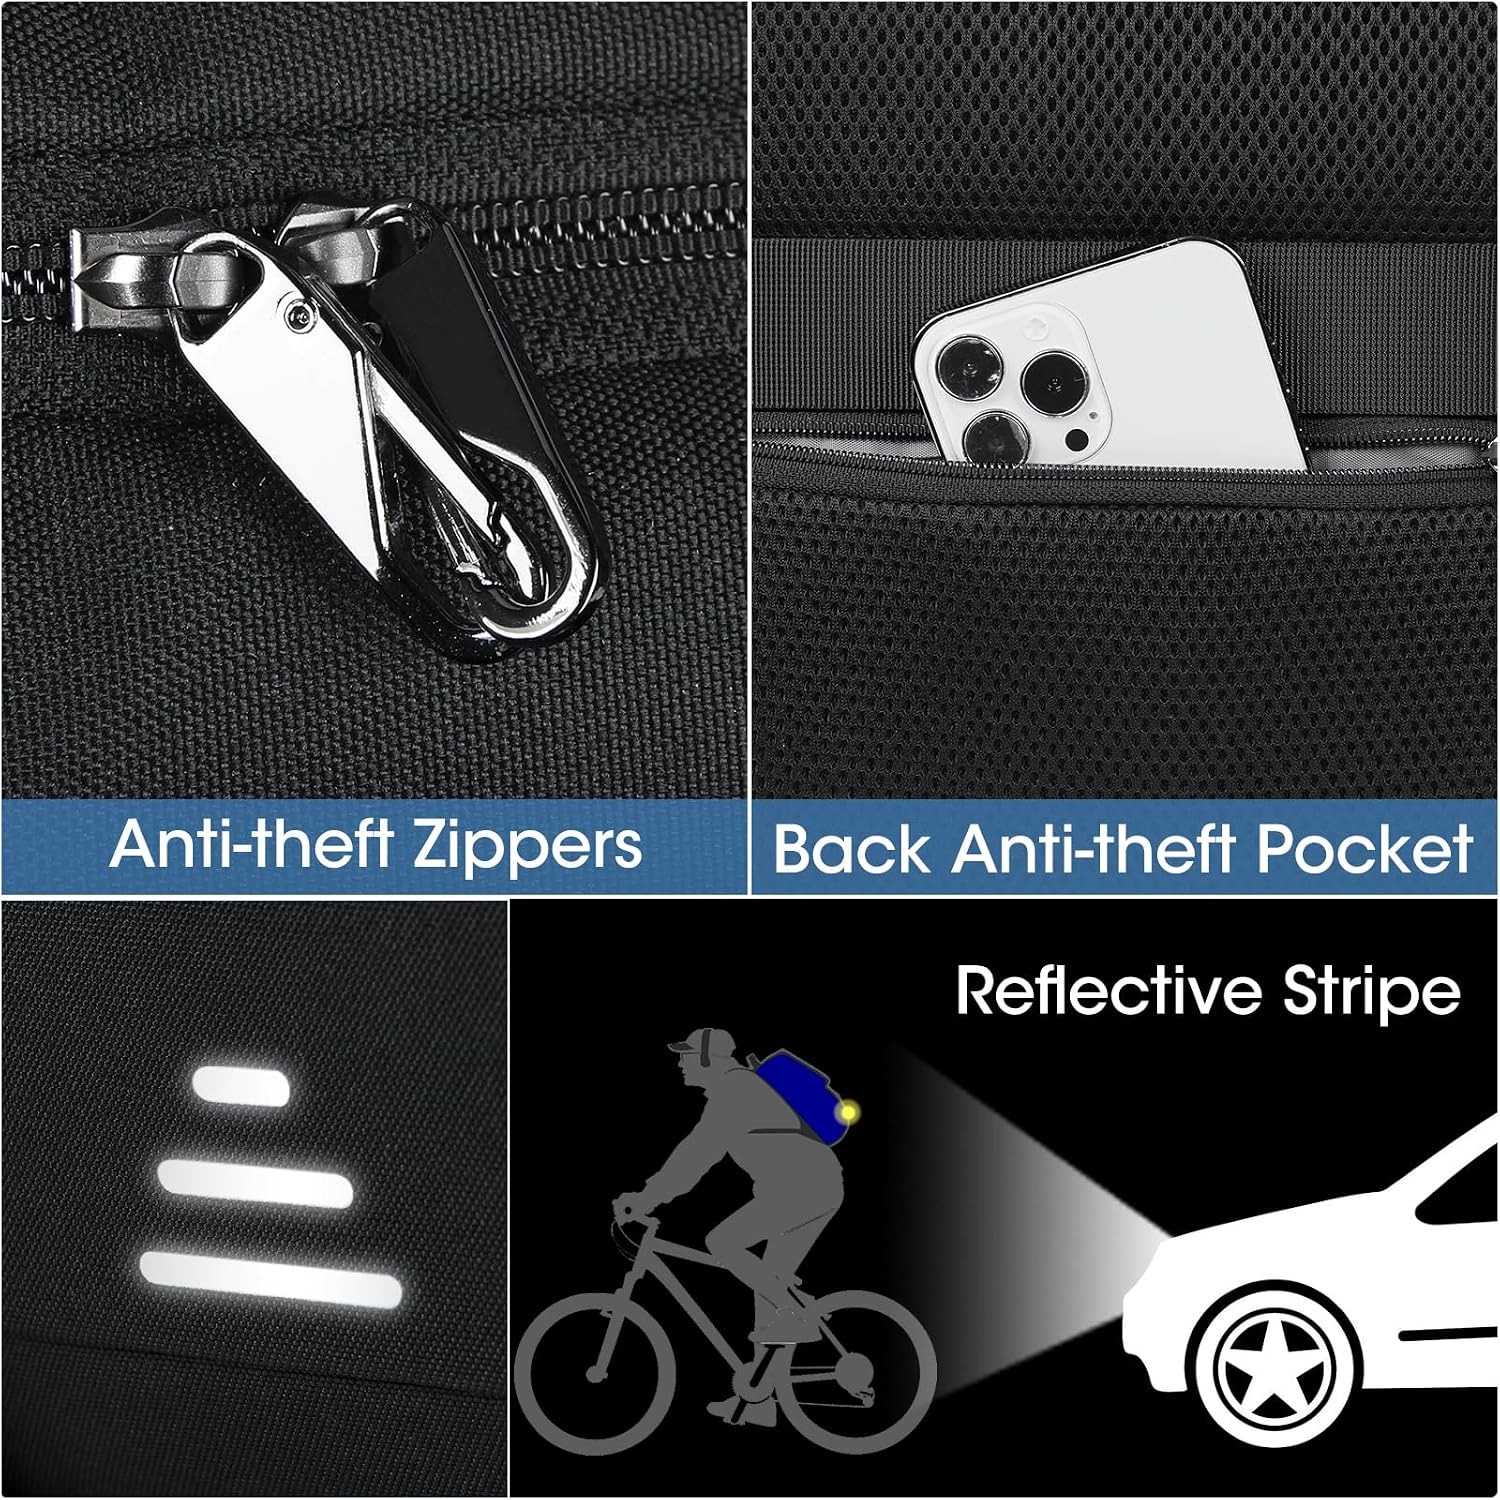
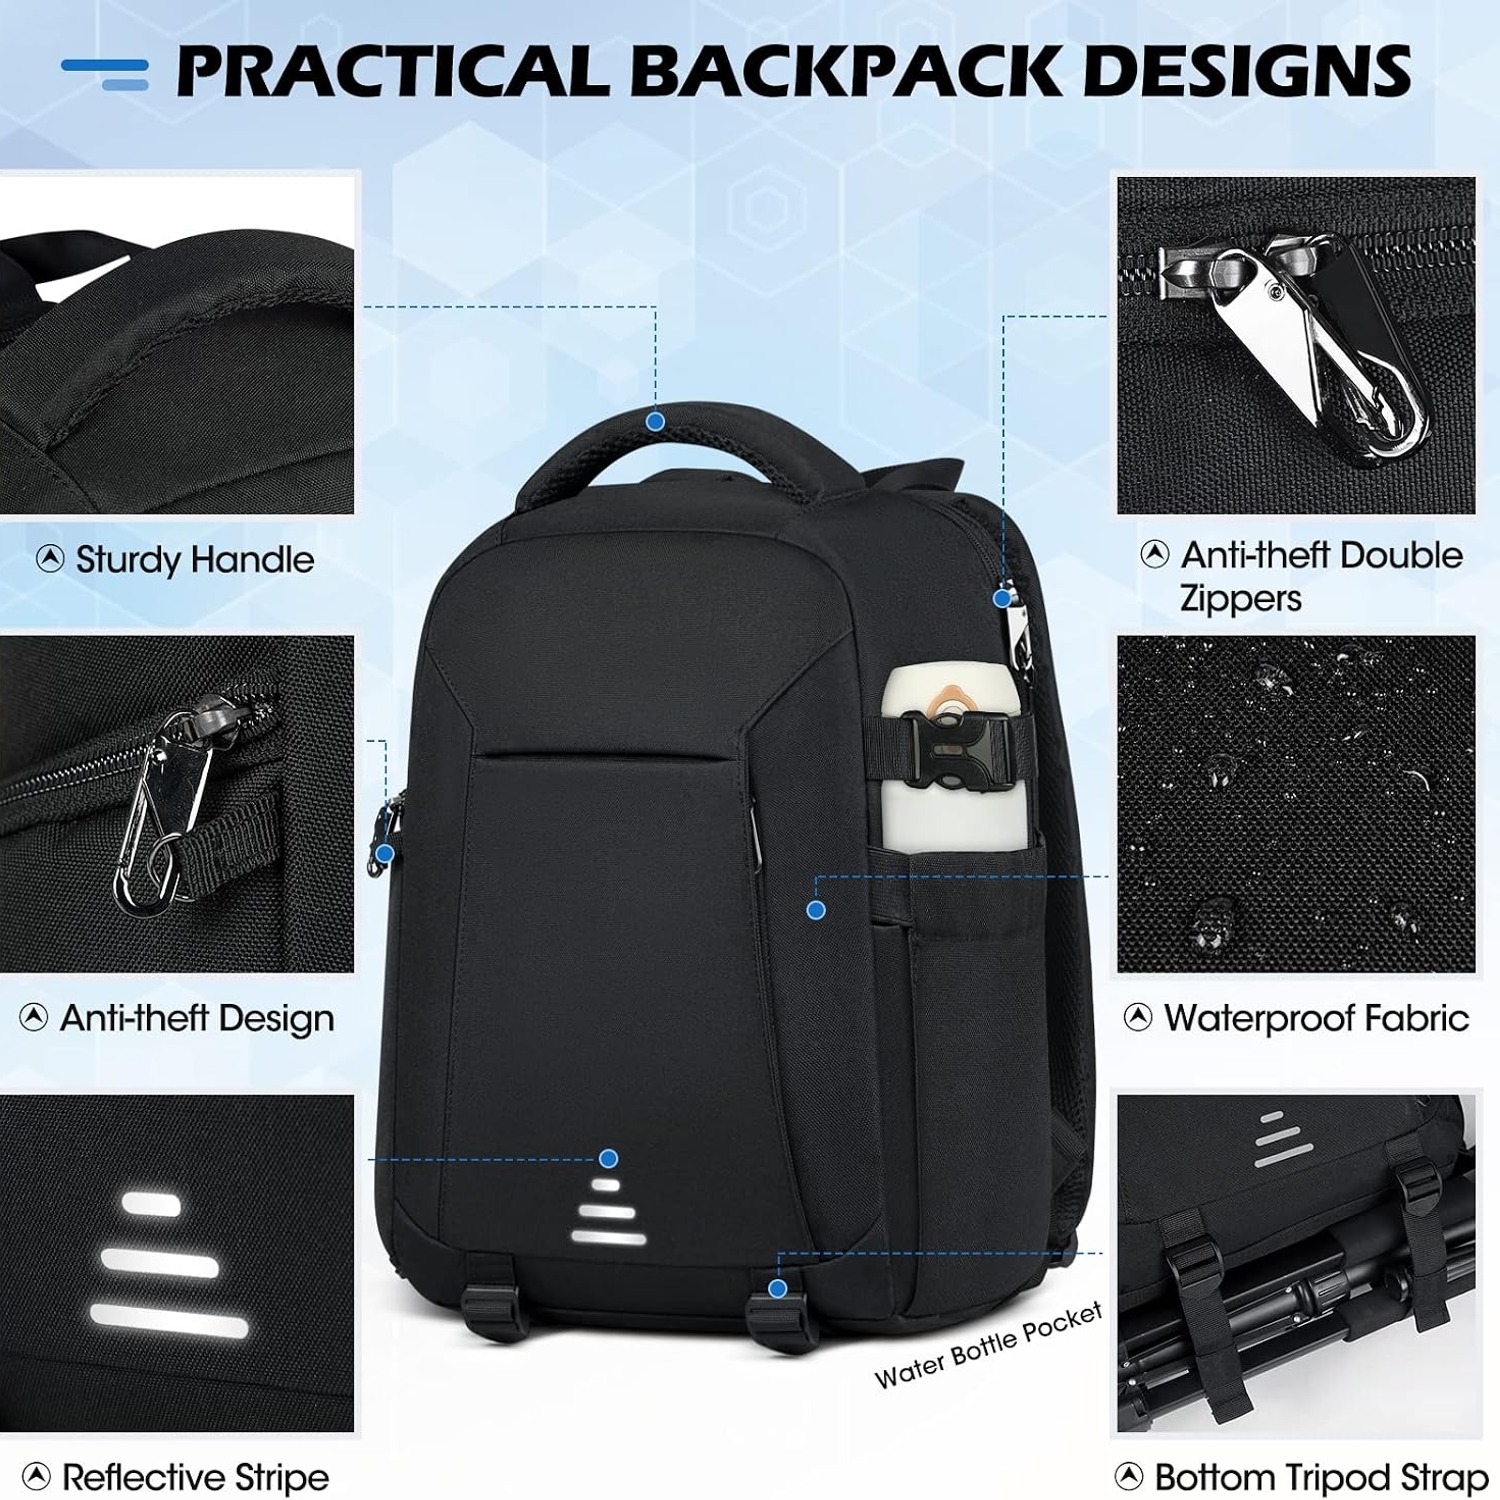
Then there is everything else. Nine pockets and ten compartments in total, nine of them zipped. Two mesh pockets swallow a charger, keys, a power bank and a wallet. A front zip pocket takes pens, a notebook, lens cloths and filters. A pocket against your back panel is the anti-theft spot, unreachable while the bag is on, which is where a phone or passport belongs in a crowd.
Weather, scratches and the stuff that ruins gear
Camera gear does not usually die dramatically. It dies from a damp bag, a scratched front element or a knock against a car door.
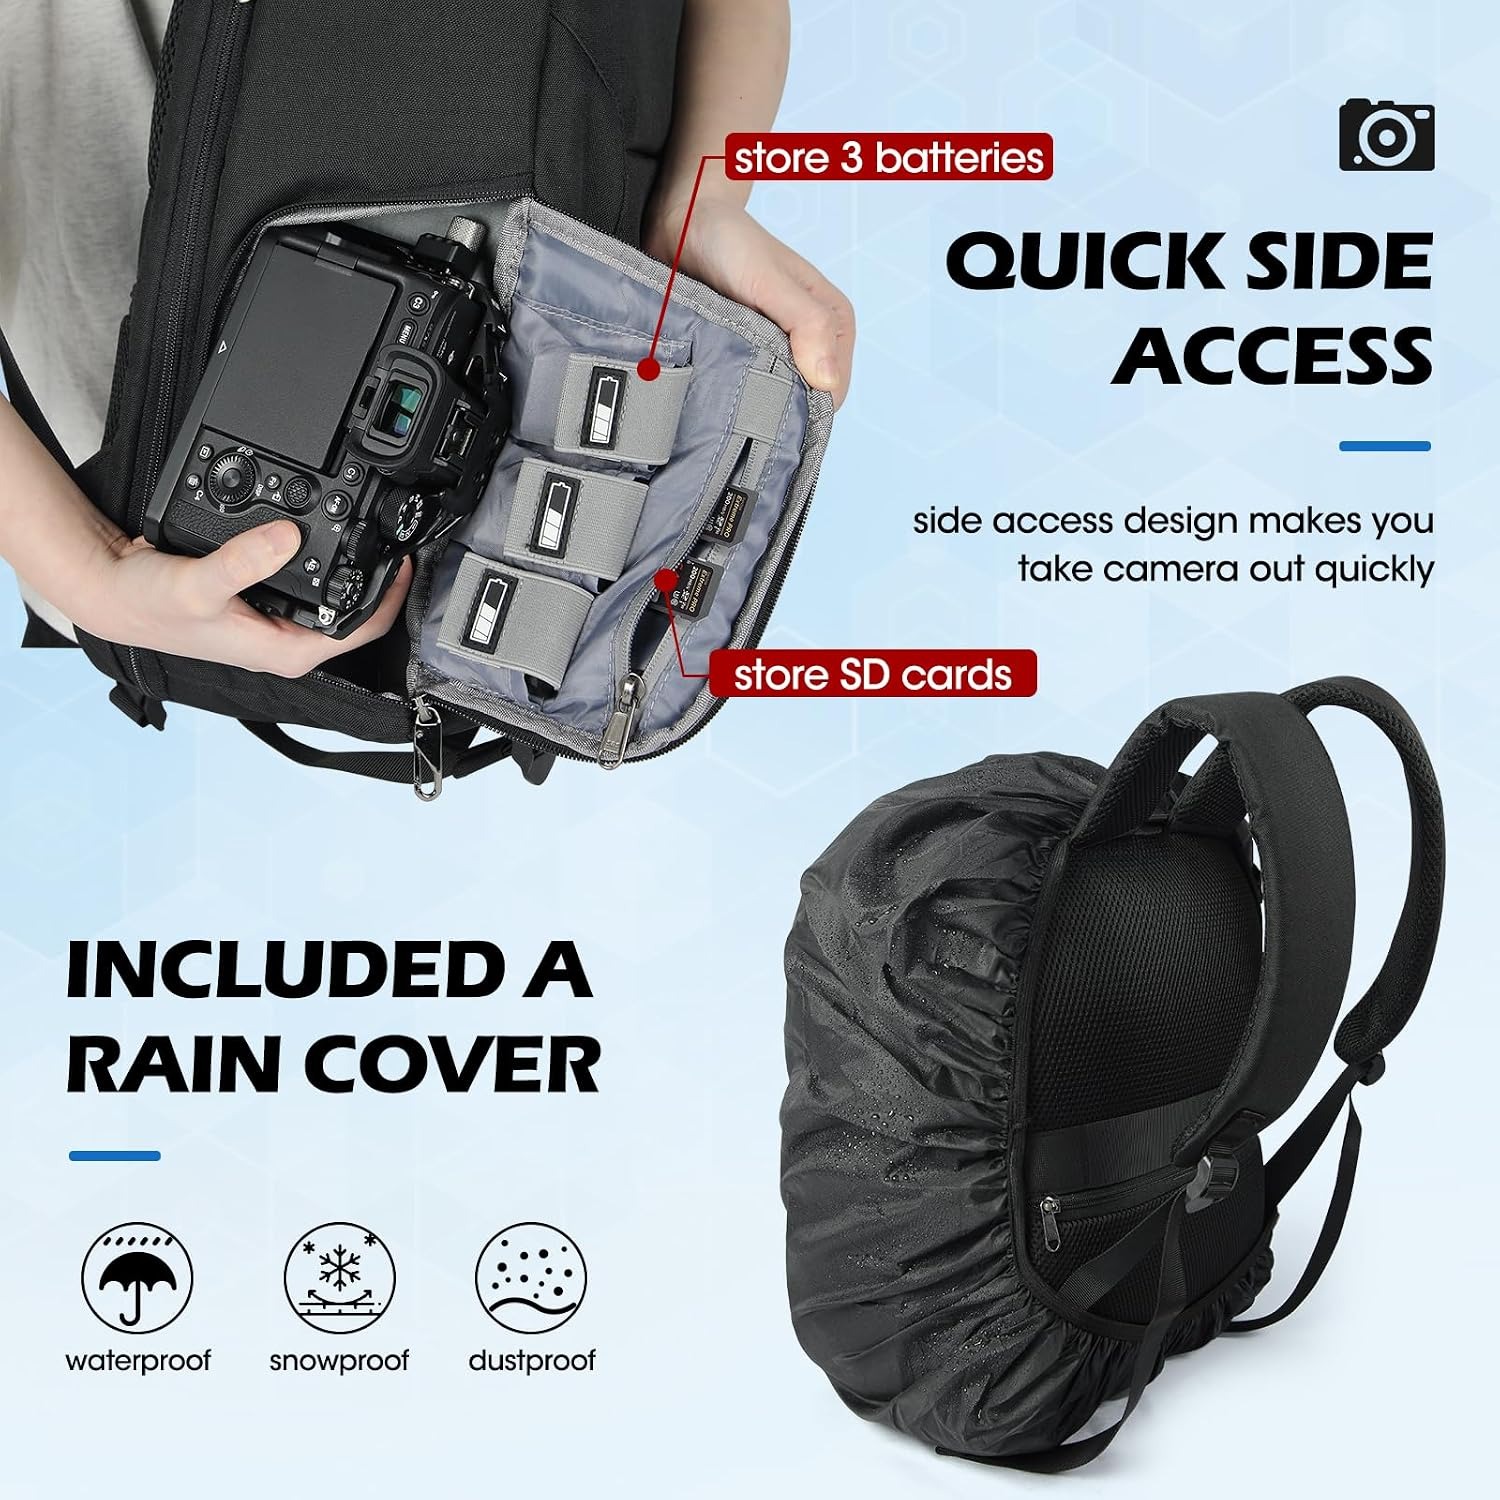
The shell here is waterproof polyester. That handles rain showers, spray off a boat, wet grass when you put the bag down, and the general dampness of an early morning. For heavier weather there is a rain cover included, which pulls over the whole bag. Use it before you think you need it. By the time you are sure it is raining properly, water is already sitting in the zip channels.
The same fabric resists scratches, which matters more than people expect if you shoot outdoors. Pushing through scrub, brushing a fence line or setting the bag down on gravel all wear at cheaper fabric. Polyester this weight takes it.
Inside, the foam padding around the camera section does the impact work. It is not armour and it is not meant to be. It is enough that a normal day of knocks against train seats, café chairs and car doors never reaches your lens barrels.
Getting the camera out fast
The feature you will use most is the side access door. Loosen one strap, swing the bag round to the front of your body, open the side, lift the camera out. The pack never touches the ground and never leaves your body.
That sounds small until you are standing on a wet pavement, or on a trail, or in a crowd where putting a bag down is a bad idea. The difference between a four-second grab and a thirty-second unpack is the difference between getting the shot and watching it go.
Practise it twice at home. Set the camera in the bay nearest the side door, learn the zip direction, and it becomes muscle memory.
Tripods, bottles and airports
The outside is set up for the awkward items. A stretch side pocket with a compression strap takes a compact tripod, a selfie pole or a water bottle. Adjustable bottom straps with a buckle handle a larger tripod or trekking poles, and the buckle means you tighten to the actual leg diameter rather than hoping a fixed loop grips.
You do have to choose. Bottle in the side pocket, tripod on the bottom, generally. Trying to hang both off one side makes the bag pull sideways on your shoulder.
For travel there is a luggage pass-through on the back panel that slides over a rolling suitcase handle. The bag sits on top of the case rather than sliding off your shoulder every ten steps through the terminal. At 39.9 cm tall and 27.9 cm wide, it is shaped to go under an aircraft seat or into an overhead bin, though you should always confirm your airline's personal item limits before you fly.
Carrying it all day
Empty weight is 948 grams. That is light for a bag with this much padding, and it means the weight you feel at the end of the day is almost all gear, not bag.
The shoulder straps are ventilated and adjust for length, so taller and shorter people can both set the bag at the right height on their back. Set it so the bottom of the pack sits around the top of your hips, not down near your tailbone. Low-hanging packs drag your shoulders back and that is where soreness starts.
Pack heavy things low and close to your spine. A big zoom lens at the top of the bag, far from your back, changes how the whole pack behaves when you lean forward. Body and heaviest lens at the bottom, lighter items up top, laptop flat against the back panel.
The reinforced top handle is for short carries, lifting the bag into a boot or off a luggage belt. It is built with reinforcement at the stress point, which is the part that usually tears first on cheap bags.
Looking after it
Care here is straightforward and the instruction is hand wash only, so no machine.
Empty every pocket, pull the dividers out, then wipe the outer fabric with a damp cloth and a little mild soap. Pay attention to the bottom panel, which collects the most grime. Rinse the cloth, go over it again to lift the soap, then let the bag air dry with all compartments open. Keep it away from radiators and direct sun, which can harden the fabric coating over time.
If the rain cover has been used, rinse it separately and dry it fully before folding it back into its pocket. A damp cover stored tight is how bags start to smell.
For storage, keep it somewhere dry with the zips partly open. Zips themselves last longer if you brush grit out of the teeth now and then, and a tiny amount of dry lubricant on a sticky zip saves it long before it fails.
Who it suits
If you own a DSLR or a mirrorless body, two to four lenses, and you also carry a laptop, this is squarely aimed at you. It is also a sensible first serious bag for someone who has outgrown the strap that came in the box and wants real protection without the bulk of a hard case.
It works for students, for weekend travel, and for day hikes. It is not a multi-day trekking pack, there is no hip belt, and if you shoot with long telephoto glass or two bodies at once you will want something larger.
The short version
Twenty-three litres, 948 grams, waterproof polyester with a rain cover included. Five removable dividers so the inside fits your gear rather than the other way round. A 14-inch laptop sleeve, nine zip pockets, side access for fast camera grabs, tripod straps on the bottom and a luggage pass-through for airports.
Measure your tallest lens, count your pieces, and check them against the 14 x 27.9 x 39.9 cm body. If it fits, this one bag replaces the two you are carrying now.