
The complete guide
How to Choose and Use an Industrial Endoscope Inspection Camera
The problem with not being able to see
Nearly every awkward repair starts the same way. Something is wrong behind a wall, under a floor, down a pipe or inside a machine, and you cannot see it. So you guess. You pour chemicals down a drain hoping it is grease rather than roots. You cut a hole in plasterboard hoping you picked the right stud bay. You pull a gearbox apart hoping the noise was the bearing you suspected.
Guessing is the expensive part. The camera is cheap compared to one unnecessary excavation or one wall you did not need to open. An industrial endoscope swaps the order of operations: look first, then decide what to do. That one change saves time, mess and money on jobs that would otherwise be trial and error.
How an inspection camera actually works
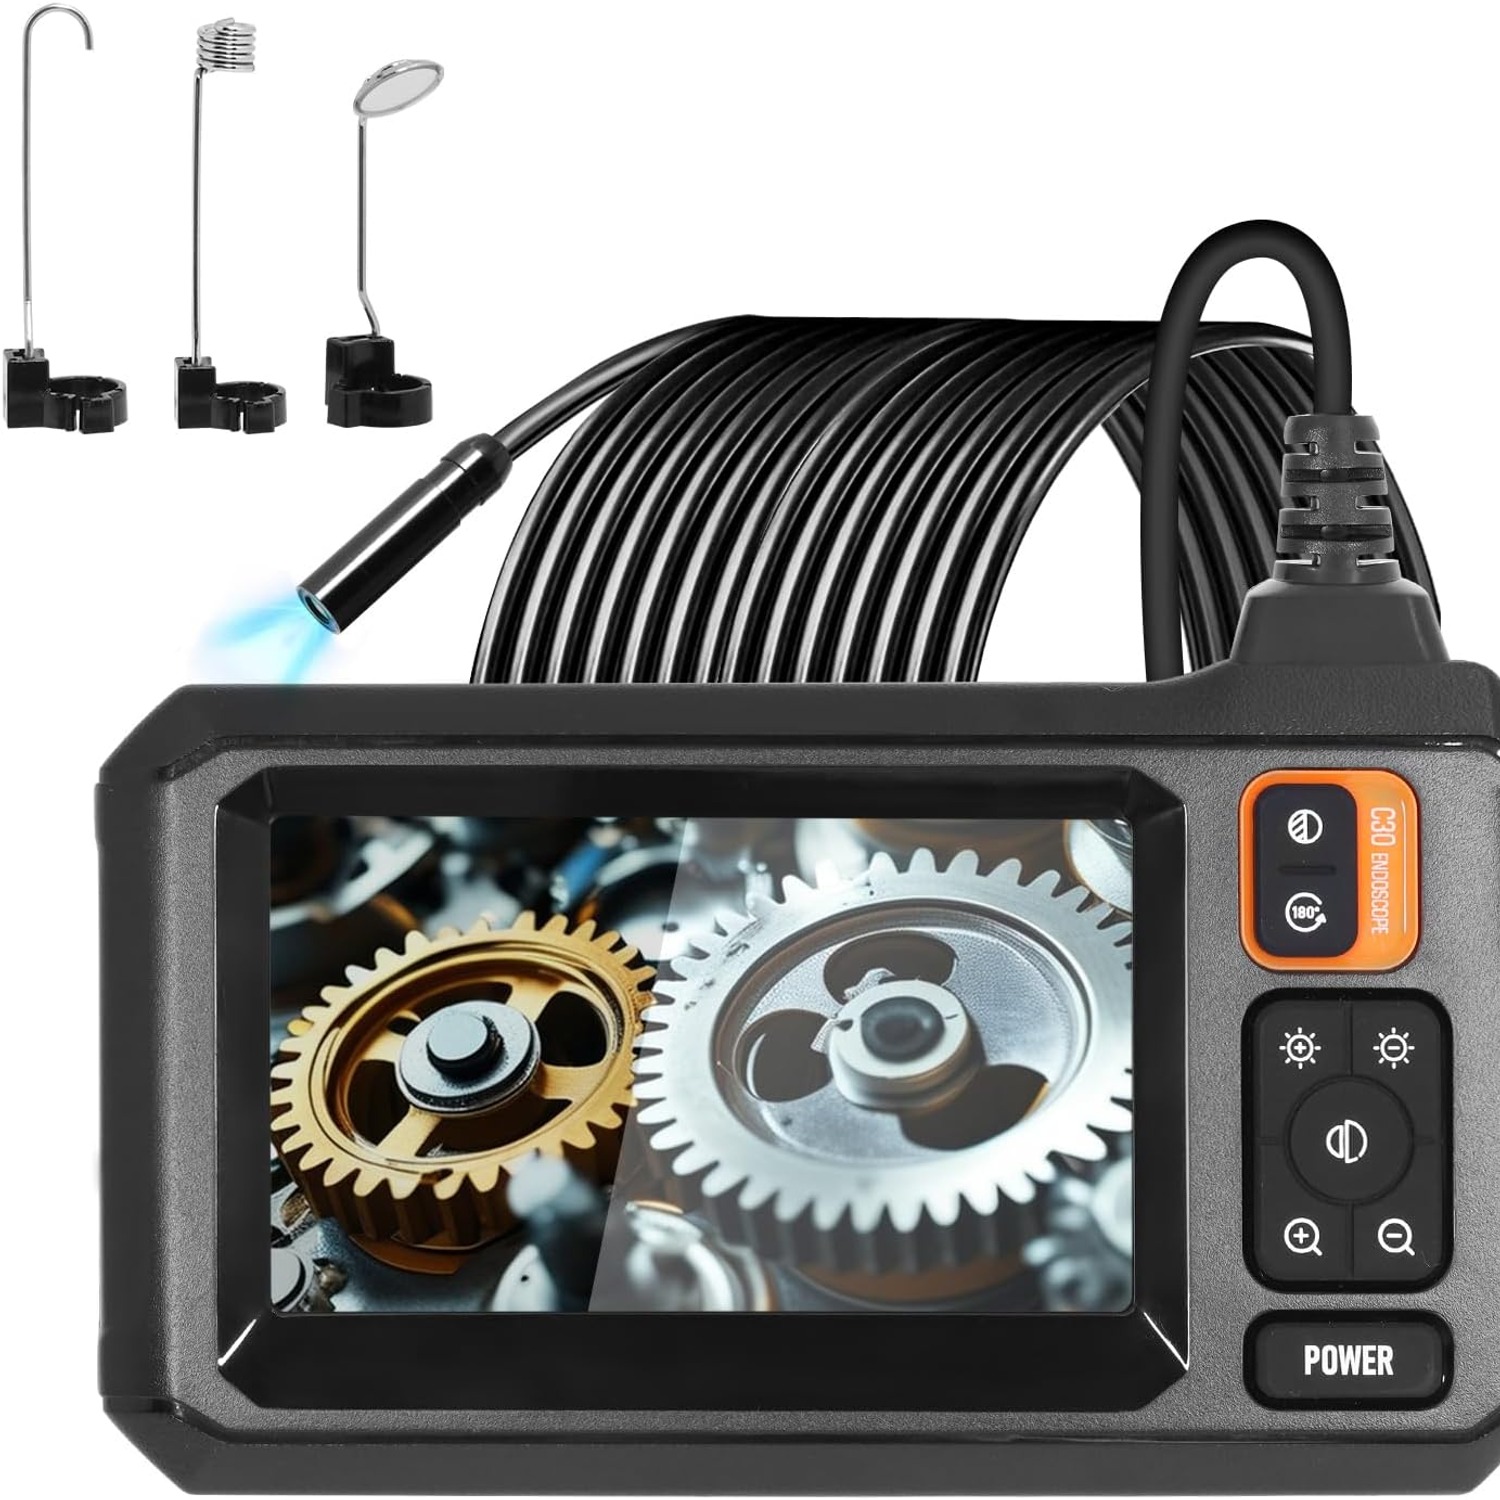
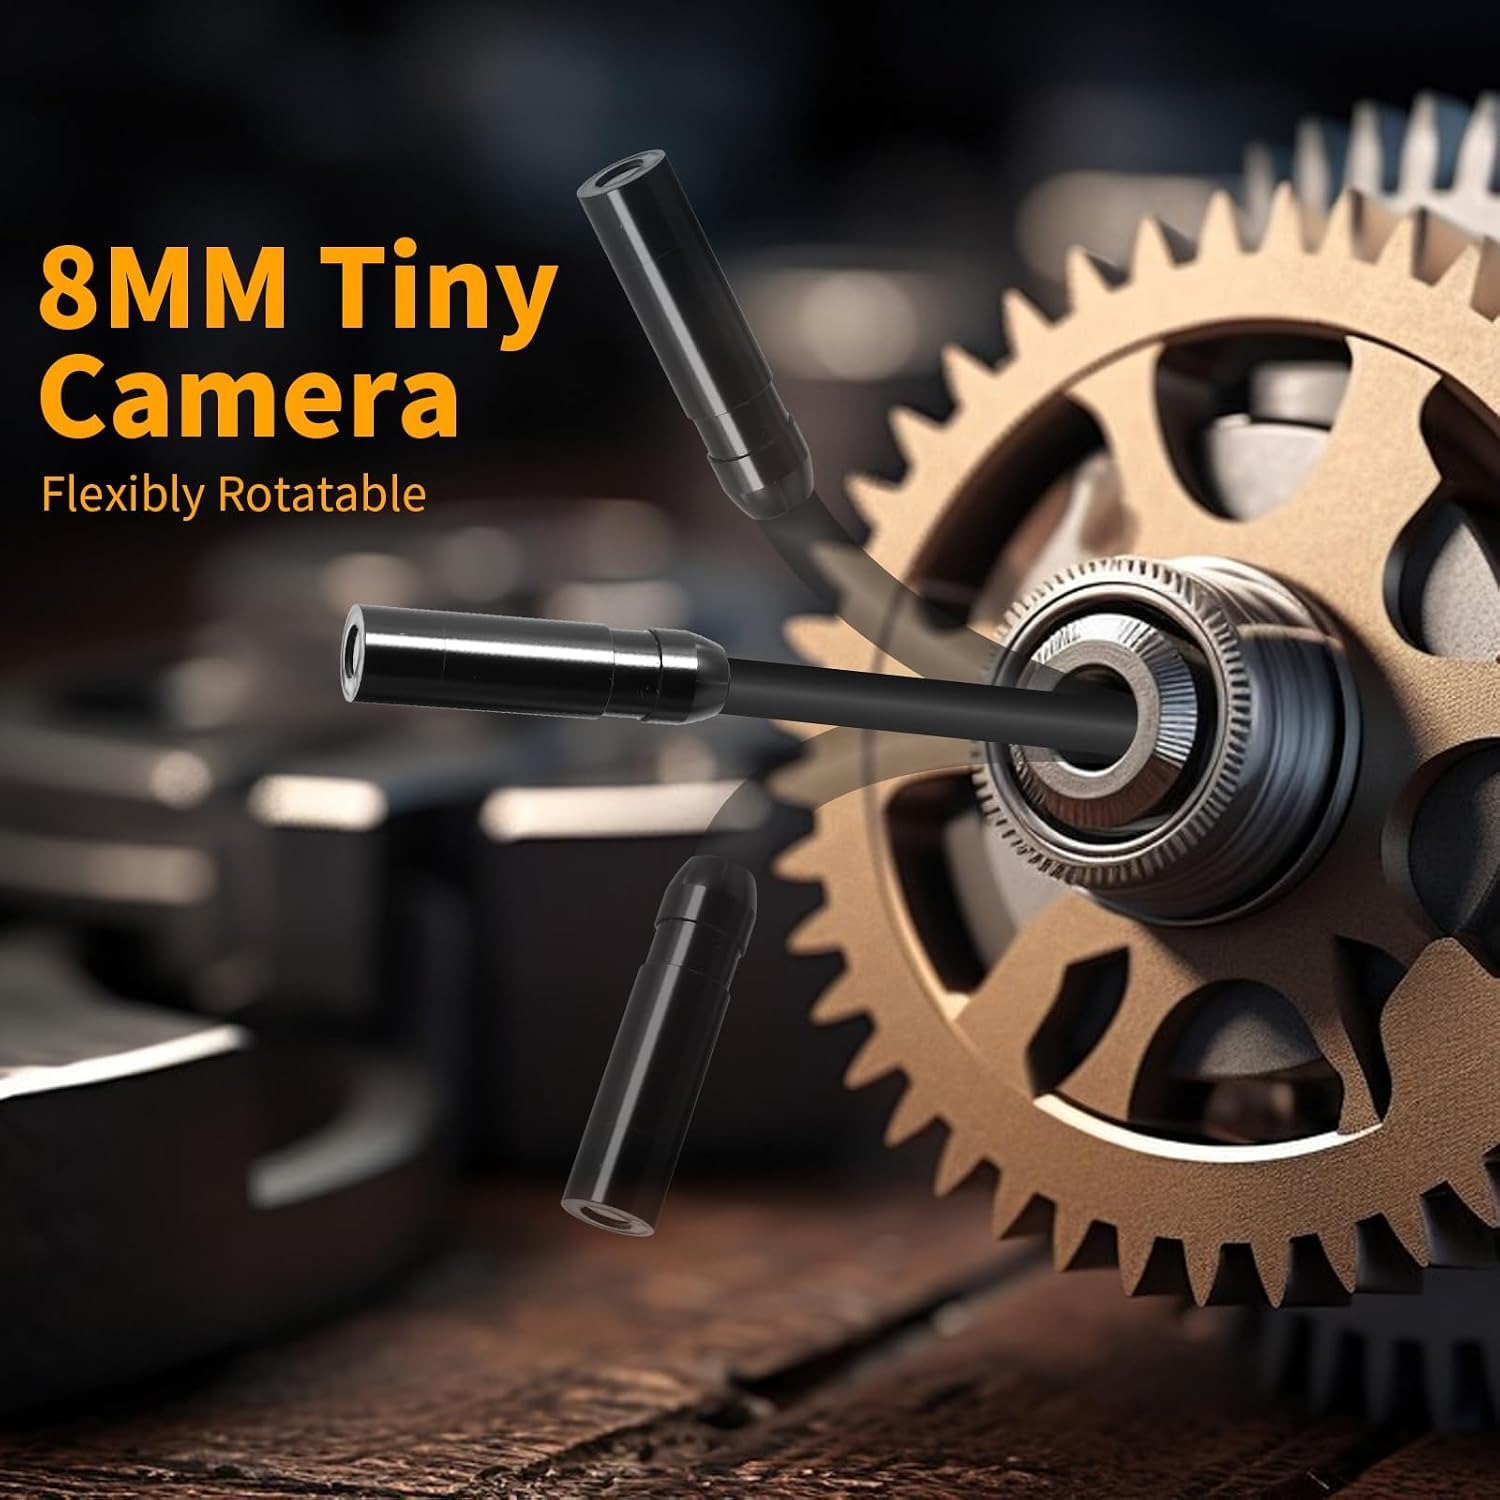
The idea is simple. A tiny camera sits in a waterproof head at the end of a long cable. Around the lens are LED lights, because there is no natural light inside a drain or a wall. The cable carries the image back to a handset, and the handset shows it live on a screen.
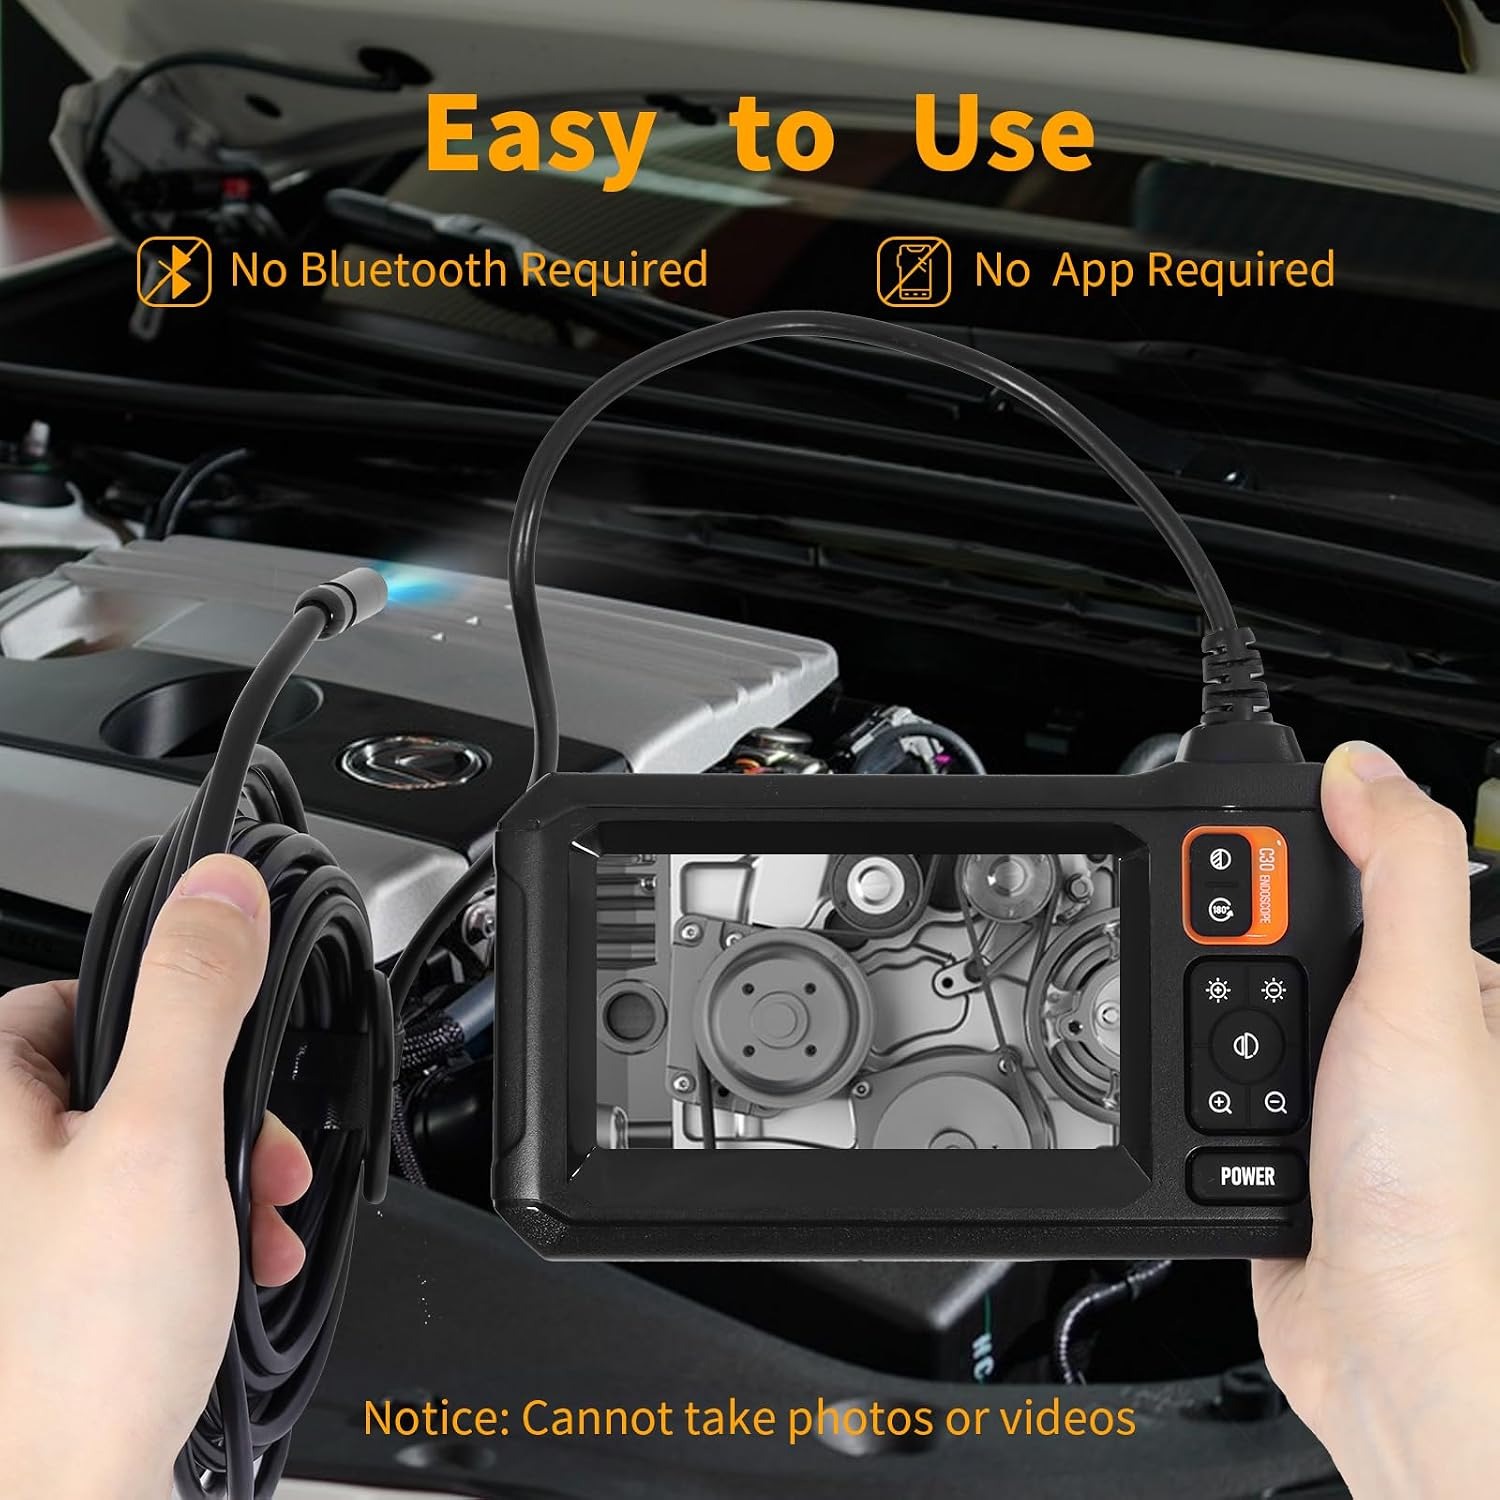
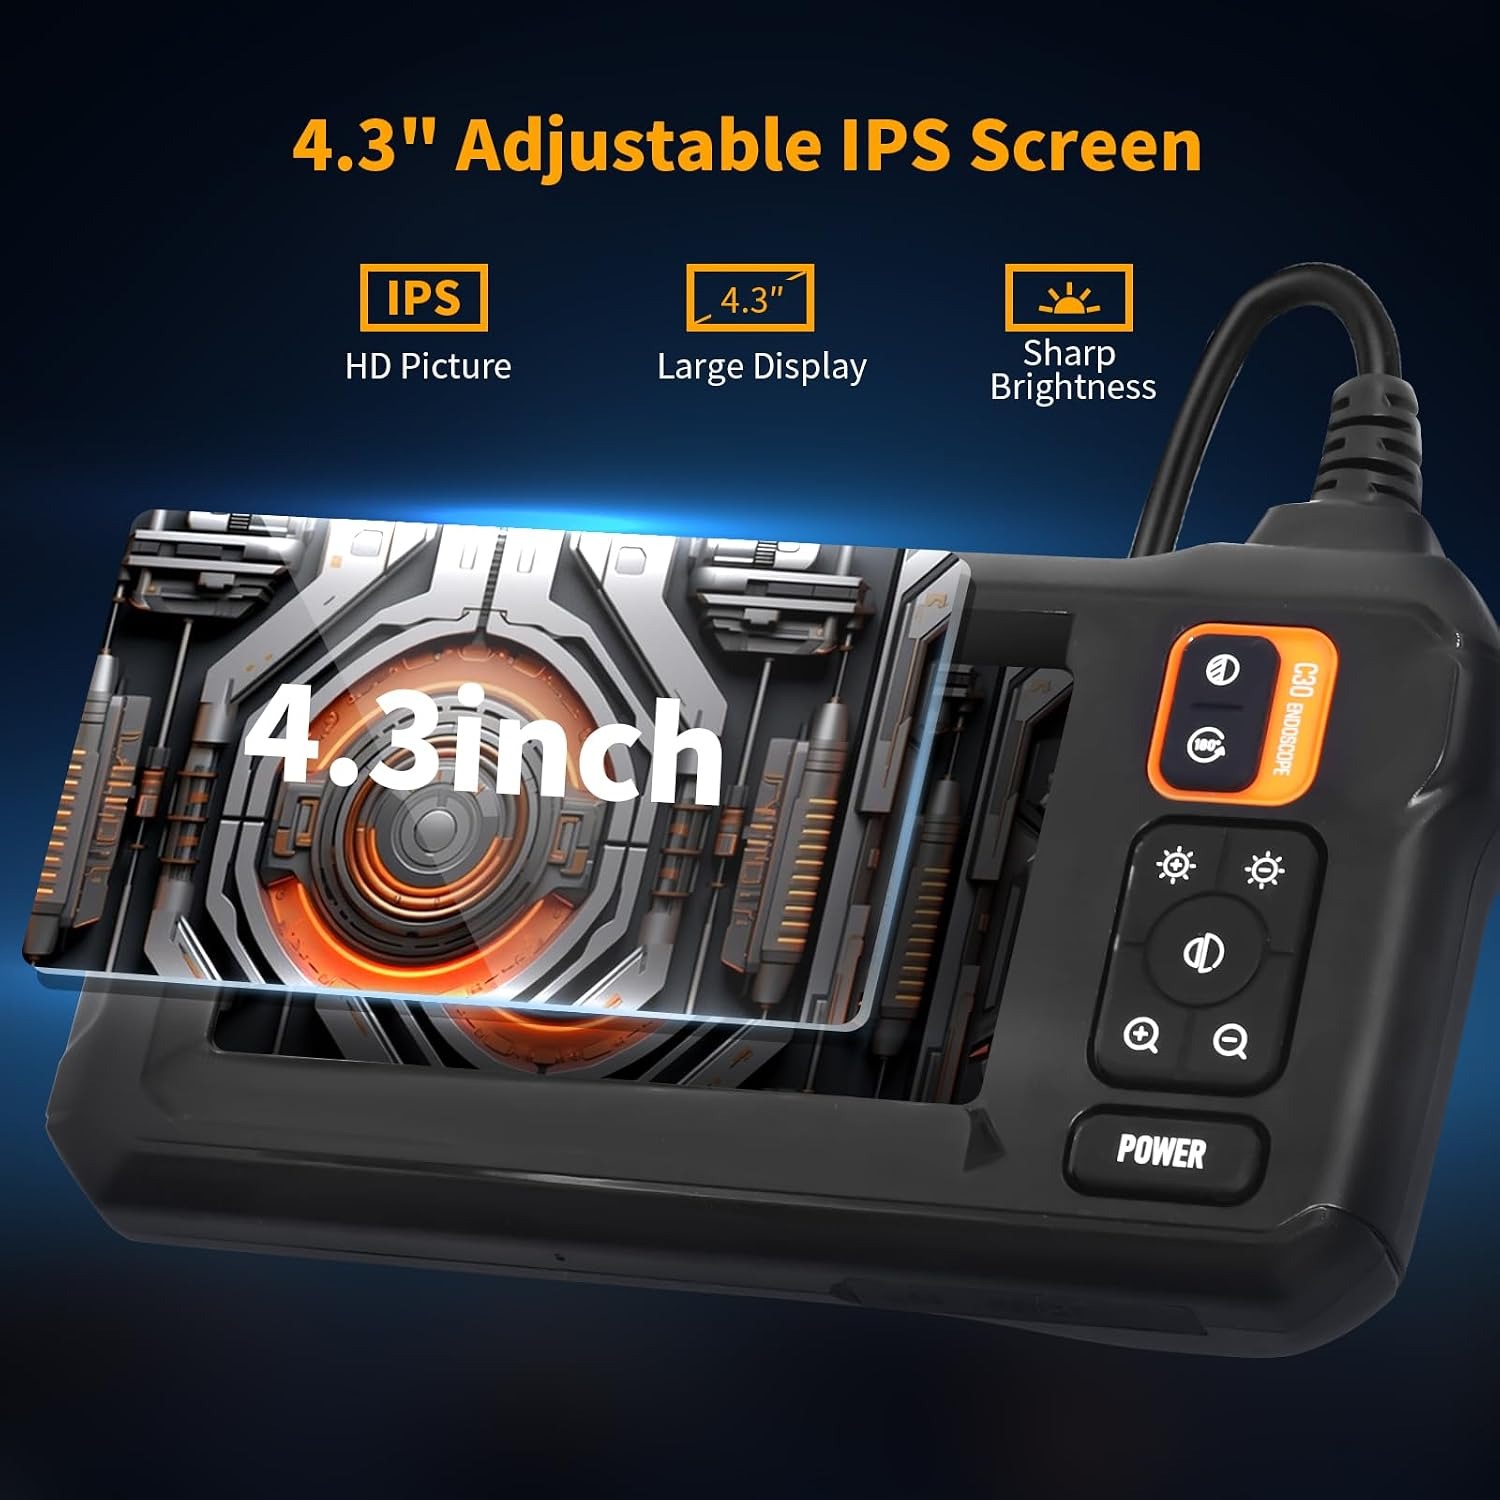
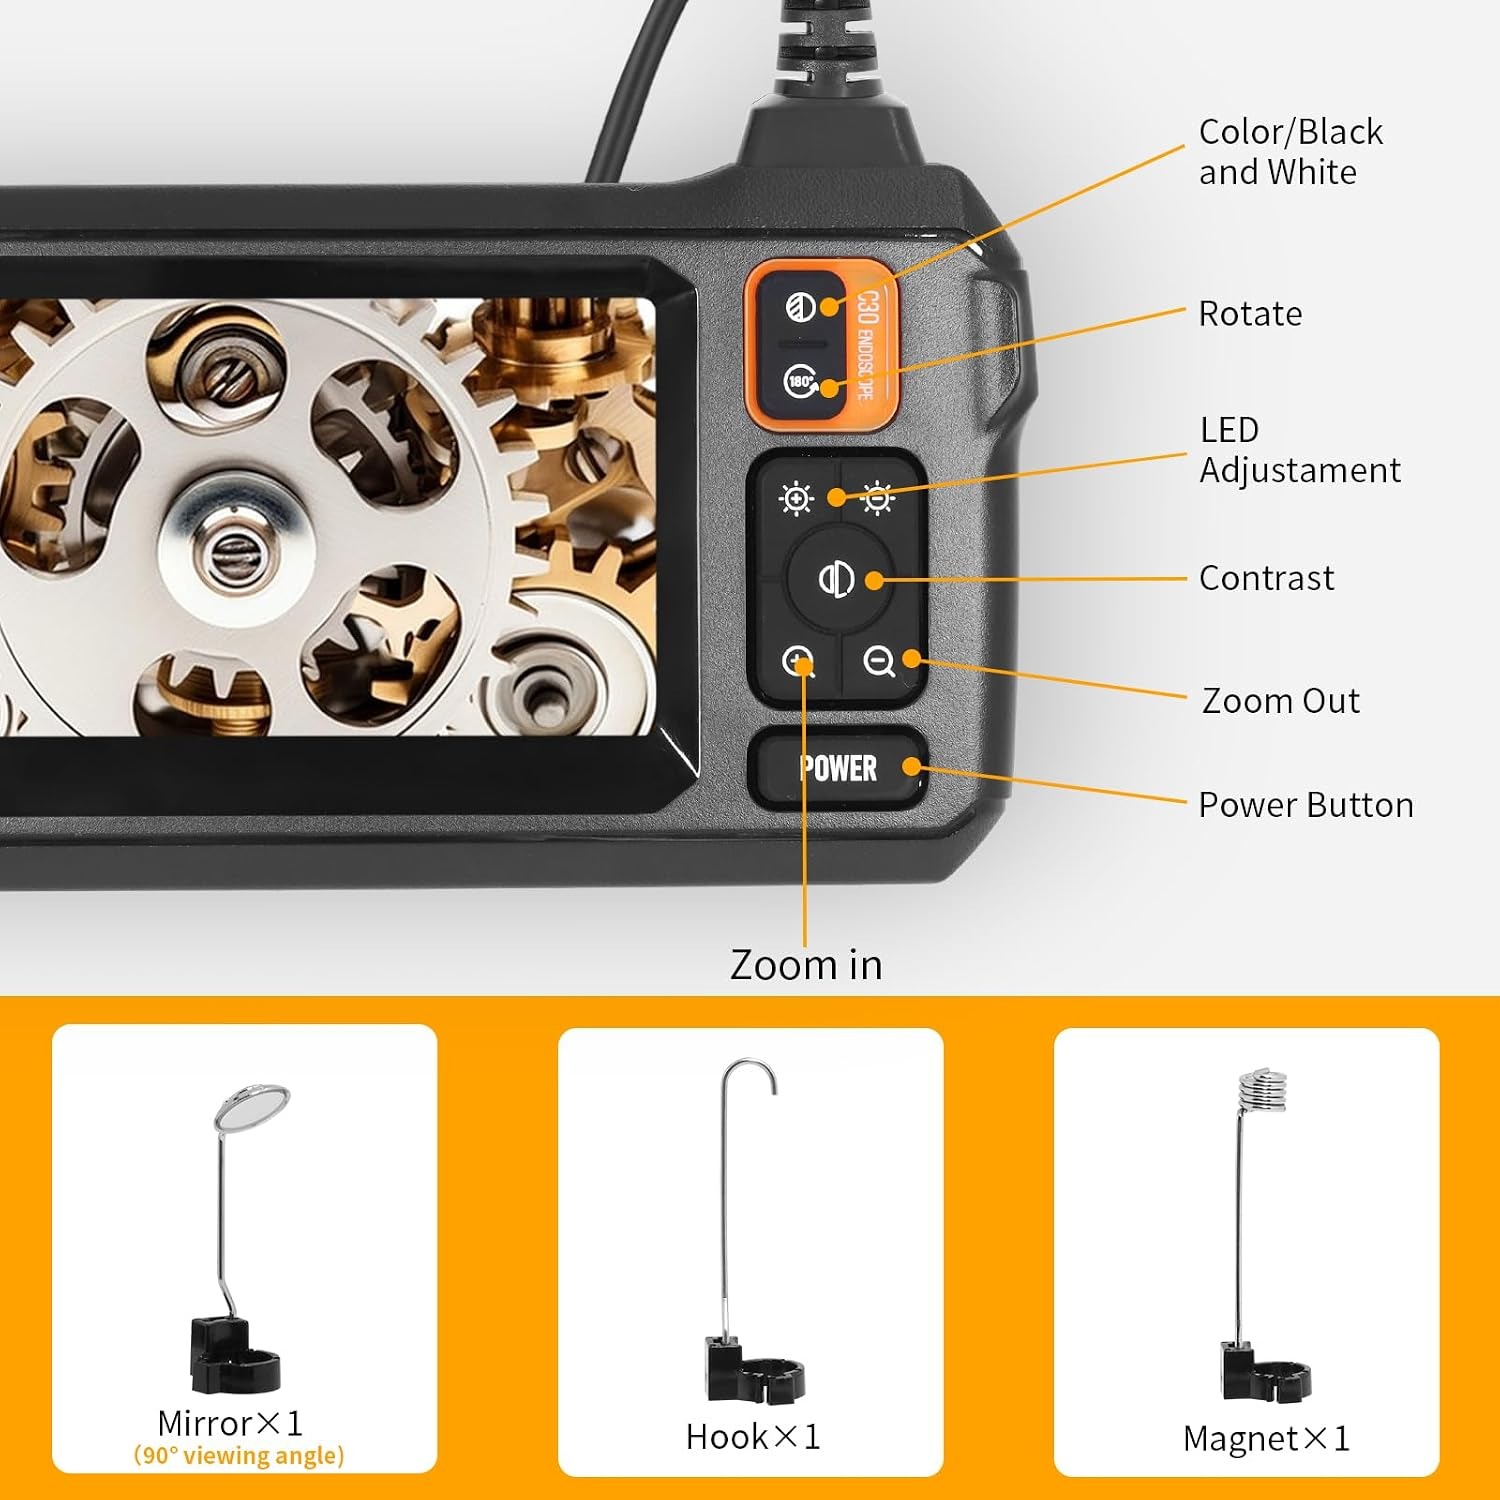
This model uses a 4.3 inch LCD built into the handset. There is no app, no pairing, no phone balanced on a bucket. You press the power button and the picture is there. People who have used phone-connected cameras tend to appreciate this immediately, because wireless links have a habit of stuttering exactly when your hand is deep in a pipe.
Image quality is 1080p for both video and stills. You get MP4 video and JPEG photos saved to an SD card, and a USB interface for getting those files onto a computer. The sensor is CMOS, the focal length is 8 mm, and there is no zoom. If you want a closer look, you push the camera closer. That sounds basic, and it is, but fixed-focus inspection cameras are the norm because the subject is usually a few centimetres from the lens anyway.
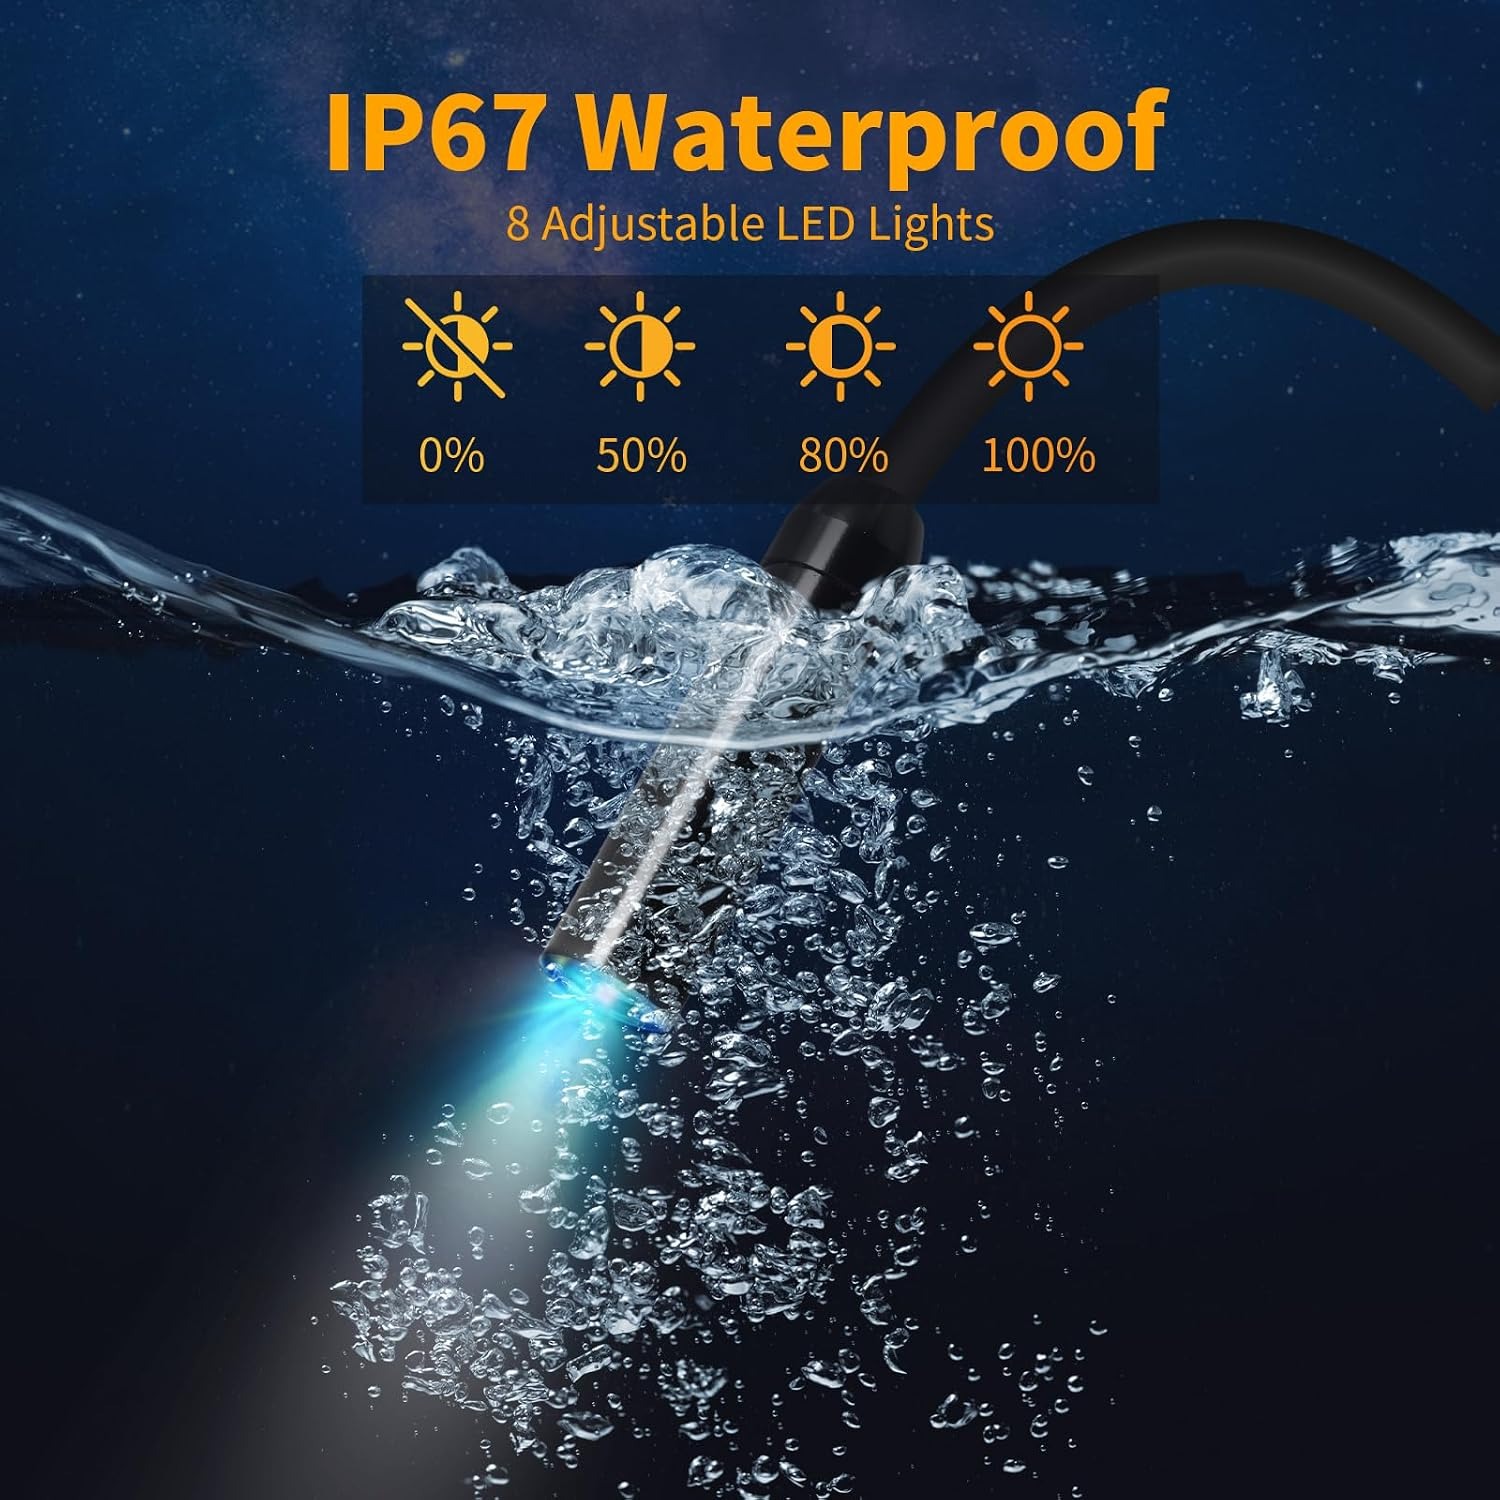
Lighting is where beginners get caught out. Eight LEDs ring the lens and the brightness is adjustable. Inside a narrow white plastic pipe, full brightness blows the image out into a white blur. Turn the lights down and suddenly you can read the surface texture, see hairline cracks and spot the edge of a root mass. In a large dark cavity you do the opposite. Learning to control the light is the single biggest improvement most people make to their results.
Who gets the most out of one
Plumbers and drain specialists. A drain inspection camera is standard kit now. Ten metres reaches from an inspection point to most household blockages, and seeing root intrusion versus a collapsed section changes the quote entirely.
Mechanics. Looking at a cylinder bore through a spark plug hole, checking for a dropped valve seat, or finding a leak behind a timing cover all become ten-minute jobs instead of half-day teardowns. The short lens turns well in tight bores.
Builders and renovators. Before you cut, look. Checking for cables, pipes, insulation gaps or water damage inside a cavity is quick when you can feed a probe through a small drilled hole.
Homeowners who do their own work. This is a bigger group than it used to be. Finding a ring that went down the sink, checking why a shower drains slowly, or working out what is nesting in the sub-floor are all realistic DIY inspection camera jobs.
Pest and property inspectors. Evidence matters in this work, and being able to record an MP4 of what you found carries far more weight than a written note.
Choosing the right one
A few things decide whether an inspection camera suits your work.
Reach. Cable length sets your limit. Ten metres covers the great majority of residential drain runs, wall cavities and under-floor crawls. If you routinely inspect long sewer mains or commercial runs, you need something longer and usually reel-mounted.
Screen or phone. A built-in screen costs a little more and weighs a little more, but it never drops a connection and never needs an update. For a tool that lives in a van and gets used occasionally, self-contained wins almost every time.
Water rating. IP67 on the camera head means wet drains and short submerged work are within its design. Not every cheap borescope is rated for that, and water ingress is the most common way these tools die.
Cable behaviour. A semi-rigid cable holds the shape you give it and pushes forward instead of concertinaing. A floppy cable is miserable to work with past a couple of metres. Thicker outer sleeving also protects the conductors inside, which is why heavier cables tend to outlast thin ones.
Recording. If you ever need to show someone what you found, recording is not optional. SD card storage with MP4 and JPEG output plus a USB connection covers that cleanly.
Battery. Around four hours of running time means you work untethered. On site, being free of a charging lead matters more than people expect.
Getting good results in practice
Feed the cable in slowly. Fast pushing causes the head to flip over, and a sideways or upside-down image is disorienting. Short, steady pushes work better than long shoves.
Mark your cable if you want distance estimates. A piece of tape every metre tells you roughly how far in the problem sits, which is what you need before anyone digs.
Use the attachments. The magnet retrieves dropped steel fixings, the hook snags wire and debris, and the side mirror lets you look at the pipe wall rather than straight down the bore. The mirror in particular changes what you can see in a horizontal run.
Keep a cloth in the kit. A smear of grease on the lens looks exactly like a cloudy pipe. Wipe before you panic.
Record more than you think you need. Storage is cheap, and going back down a drain to get one more clip is not.
Looking after it
Care is mostly about two habits. Clean the probe after dirty work, and never store it kinked.
Wipe the cable and camera head with a damp cloth once you are done, then dry them before coiling. Grit left on the sleeve works its way in over time. Coil in wide loops, not tight ones, because sharp bends stress the conductors at a single point and that is where cables fail.
Keep the handset dry. The camera head is rated for water, the screen end is not. Charge the battery before long storage rather than putting it away flat, and keep the whole unit out of direct sun and heat. Done consistently, that is the difference between a tool that lasts years and one that fails in a season.
The short version
If your work or your house keeps producing problems you cannot see, a 10 metre industrial endoscope pays for itself the first time it stops you cutting into the wrong wall. This one keeps things simple with a built-in 4.3 inch screen, 1080p recording to an SD card, an IP67 waterproof head, eight adjustable LEDs and roughly four hours of battery. No app, no pairing, nothing to go wrong before you have even started.
It will not replace a long reel-mounted sewer camera for commercial mains work. For household drains, wall cavities, engine bays, sub-floors and the endless small mysteries that come with owning or maintaining a building, it is the right size of tool. Look first, then decide. That is the whole point.