
The complete guide
How to Clean Camera Gear Without Scratching It, A Practical Buyer's Guide
The problem nobody warns you about
You buy a camera. You buy a lens. Nobody mentions that within about three months, there will be a grey smudge on the front element, a crumb of something in the lens threads, and a soft dark blob in the top corner of every photo you take at f/16.
That last one is sensor dust, and it is the one that makes people panic. It looks like a defect. It usually is not. It is a speck sitting on the sensor stack, and in most cases a few puffs of clean air removes it completely.
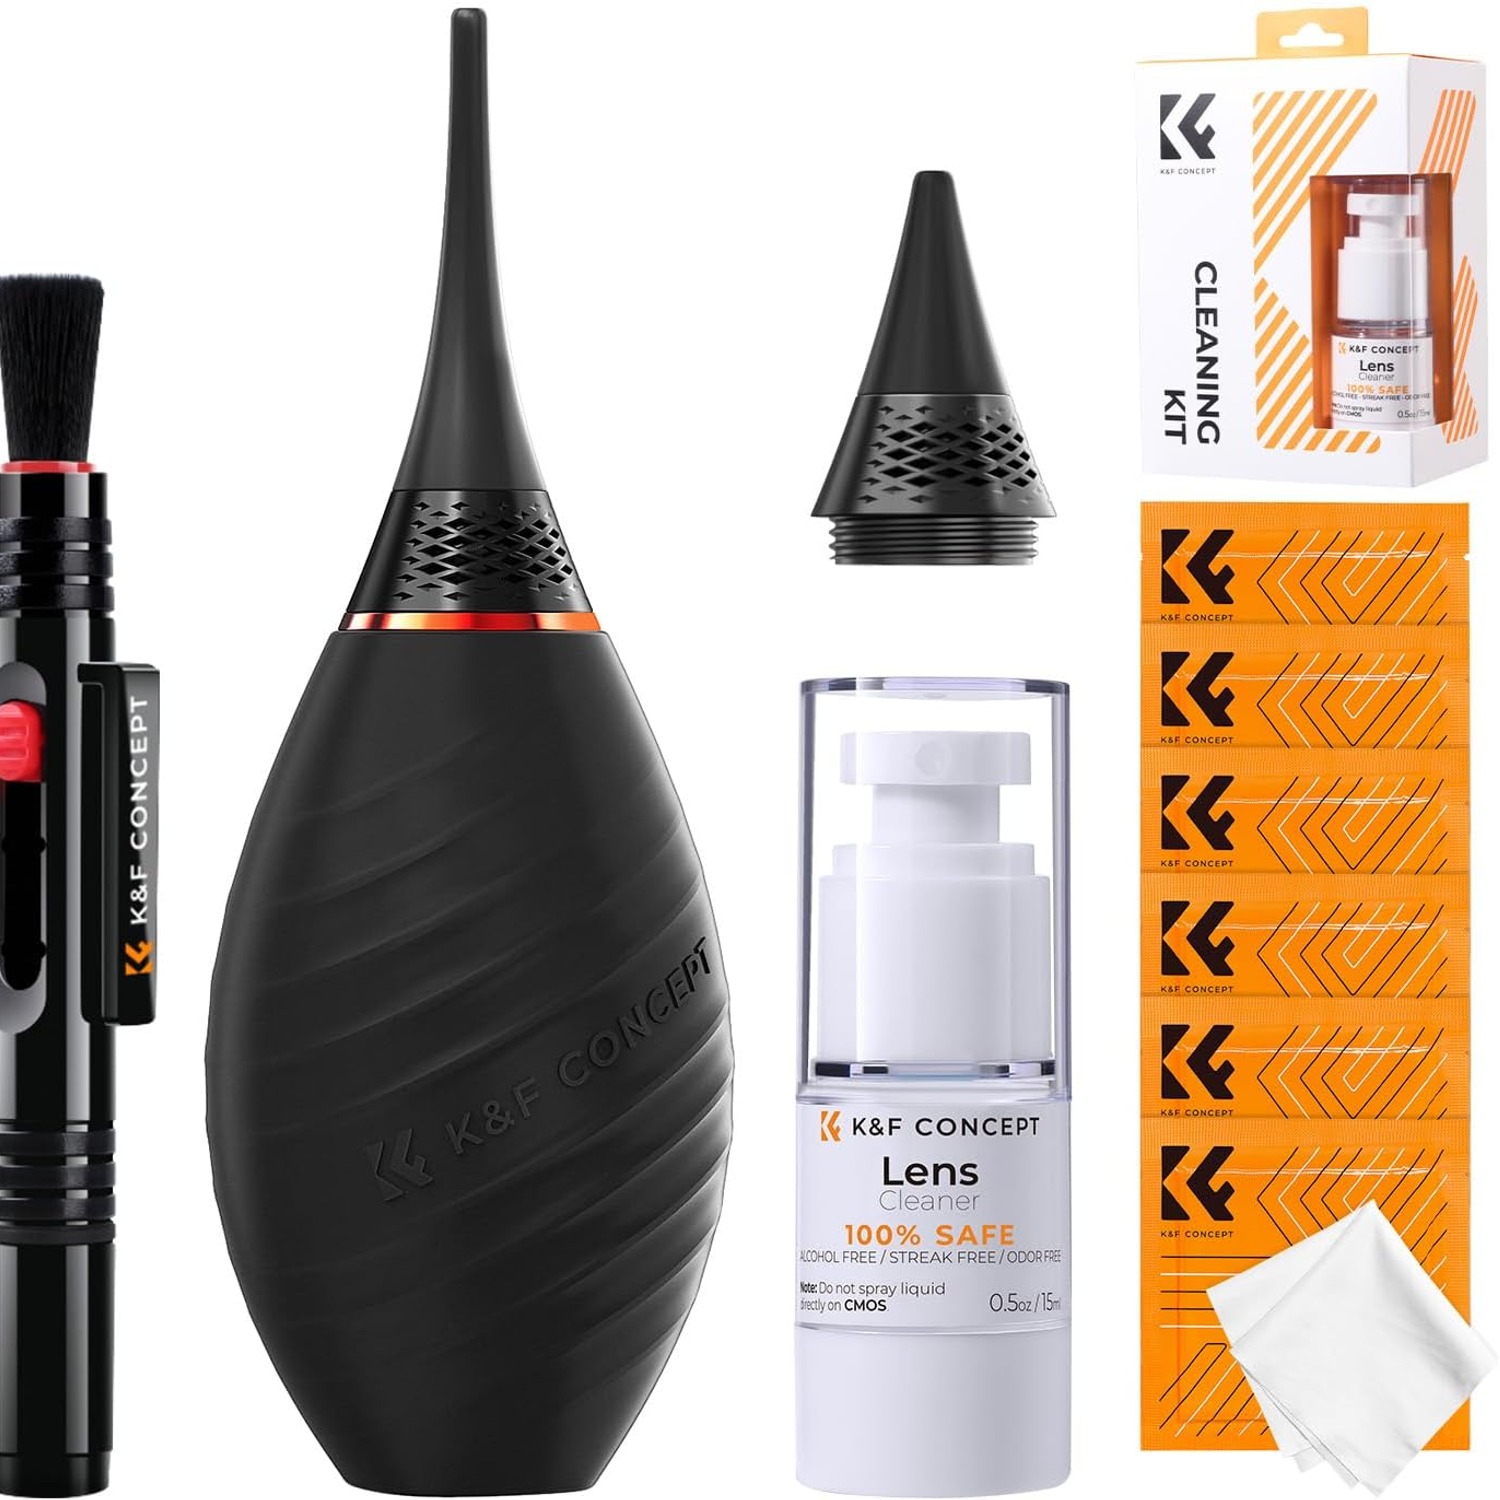
The honest truth about camera cleaning is that most of it is easy, and the mistakes people make come from doing things in the wrong order. Reaching for a cloth before you have blown off the grit is how lenses get scratched. A good camera cleaning kit 10 in 1 is really just a way of making sure the right tool is within reach at the right moment.
How the tools actually work together
Think of cleaning as a ladder. You start at the gentlest rung and only climb if you have to.
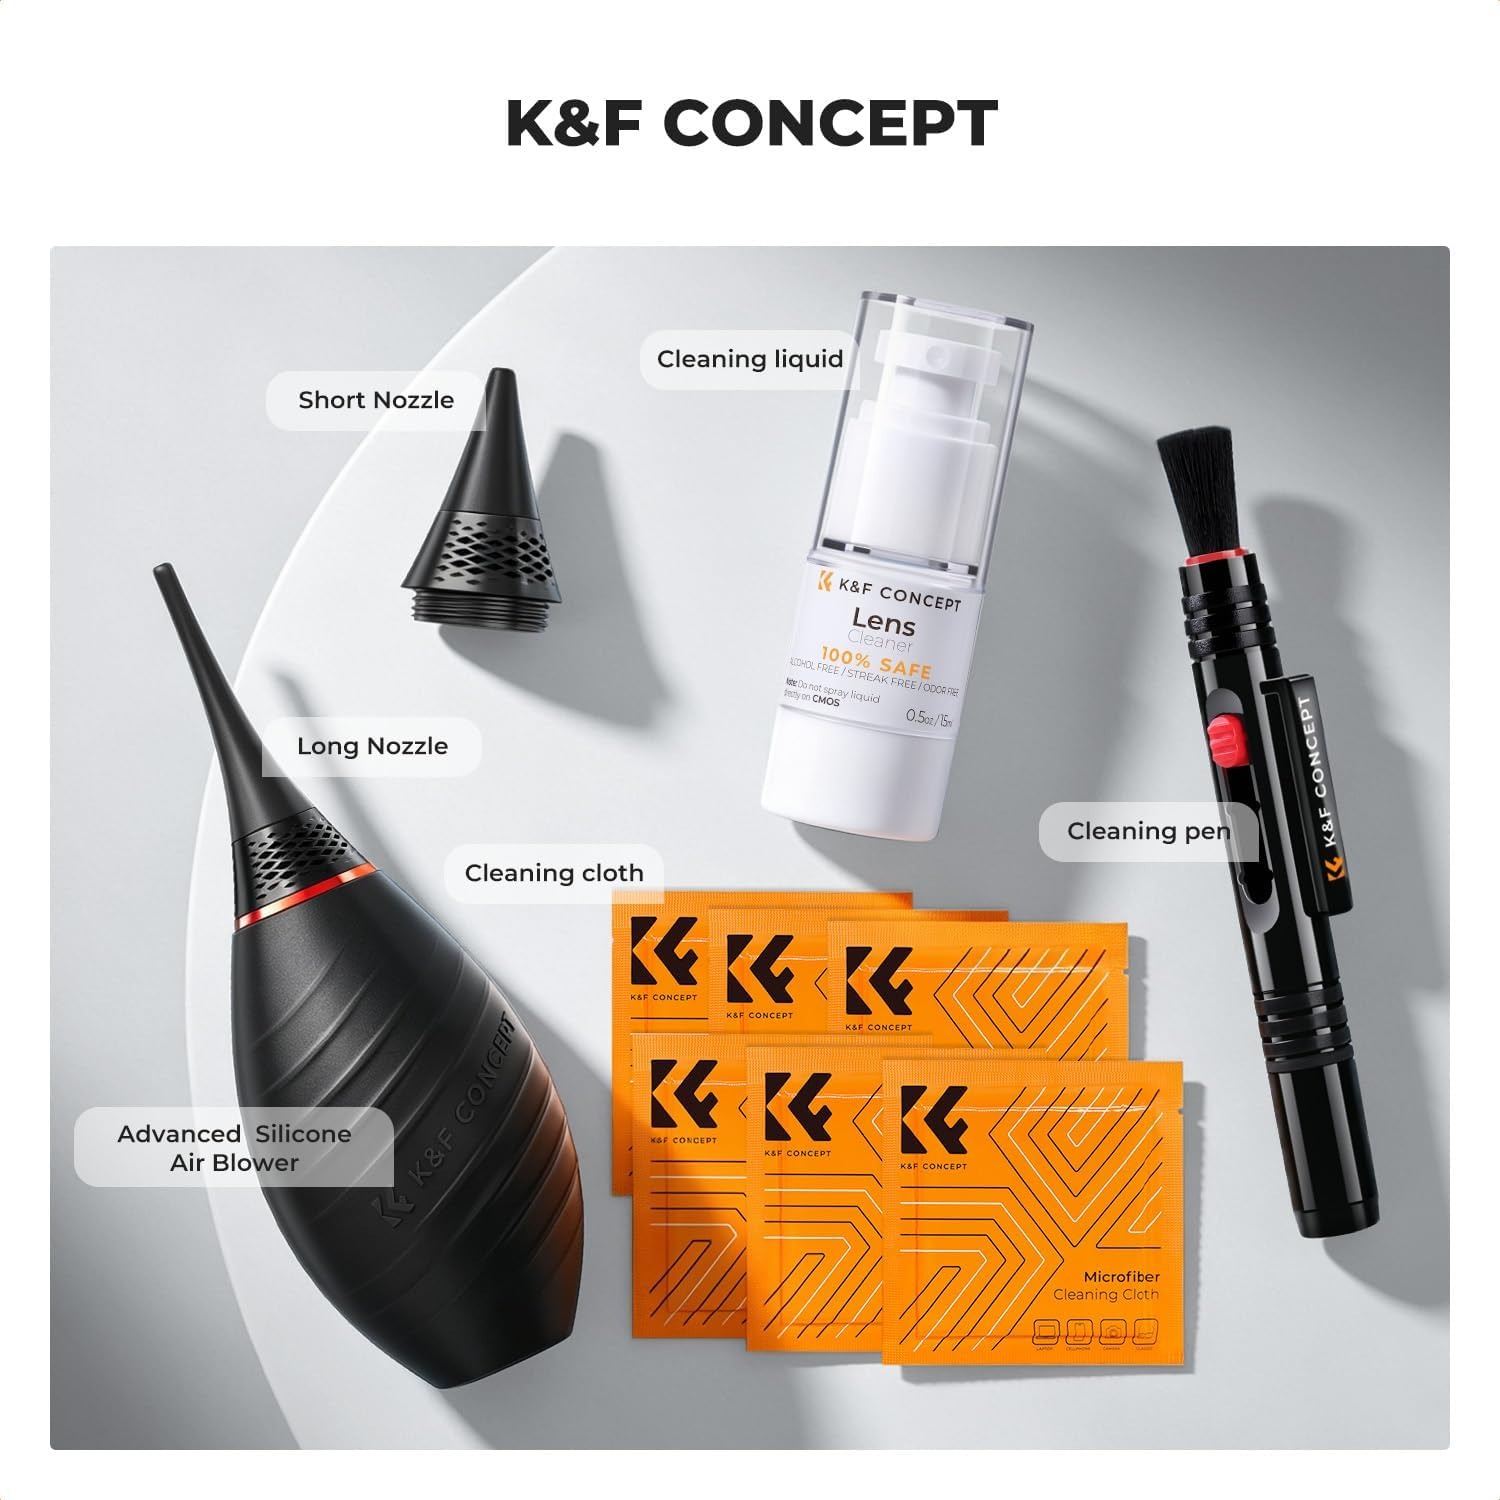
Air comes first. The silicone rocket blower moves loose particles off a surface without anything touching it. No friction, no risk. This handles the large majority of what lands on your gear, because dust is not glued on, it is just sitting there. The soft tip means an accidental bump against glass does nothing.
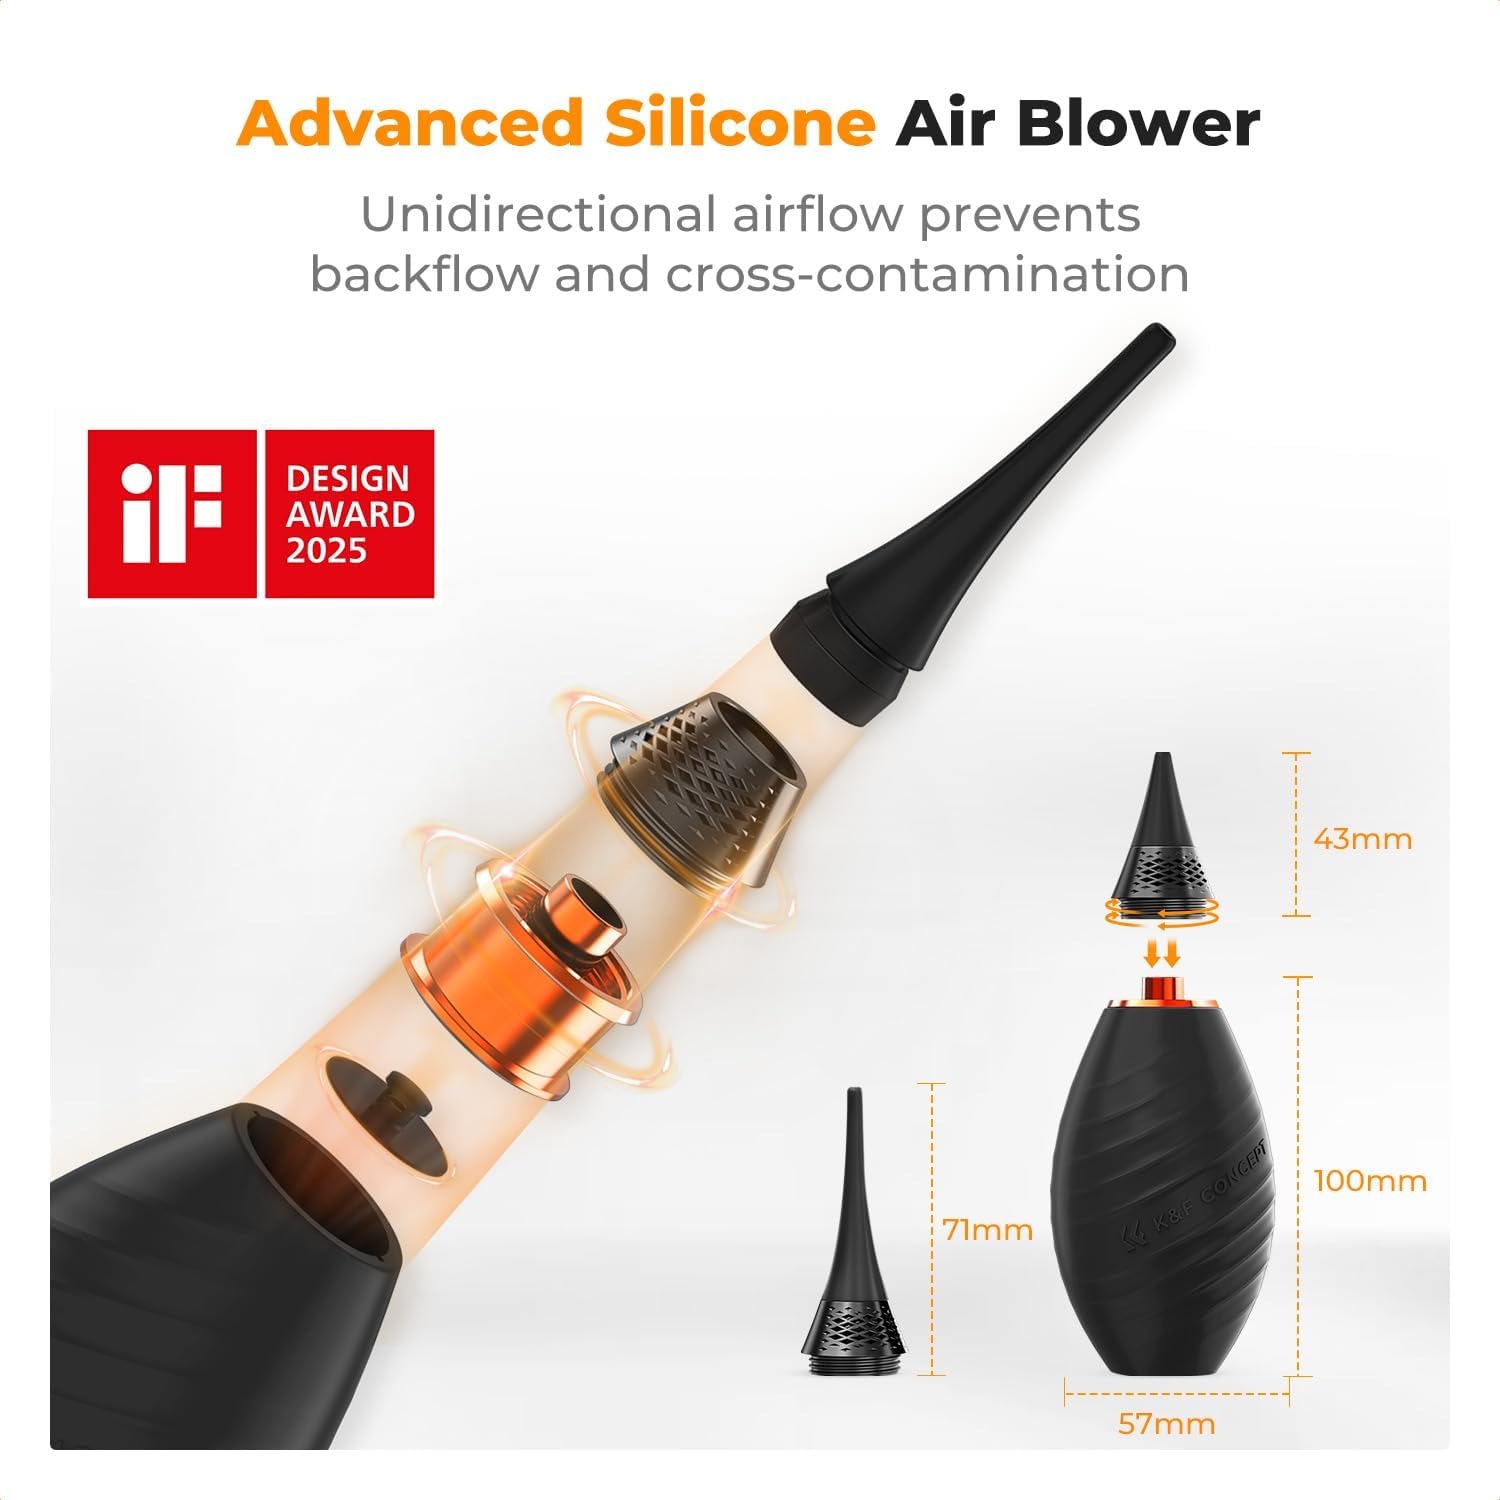
The blower in this kit uses one-way air intake, and that detail is worth understanding. A simple bulb blower refills through the same hole it exhales through. Squeeze it, and it blows dust away. Release it, and it sucks that same dust back inside. Next squeeze, the dust comes out again, now aimed at your sensor. Separate intake means every puff is drawing in fresh air from behind, not recycling the mess.
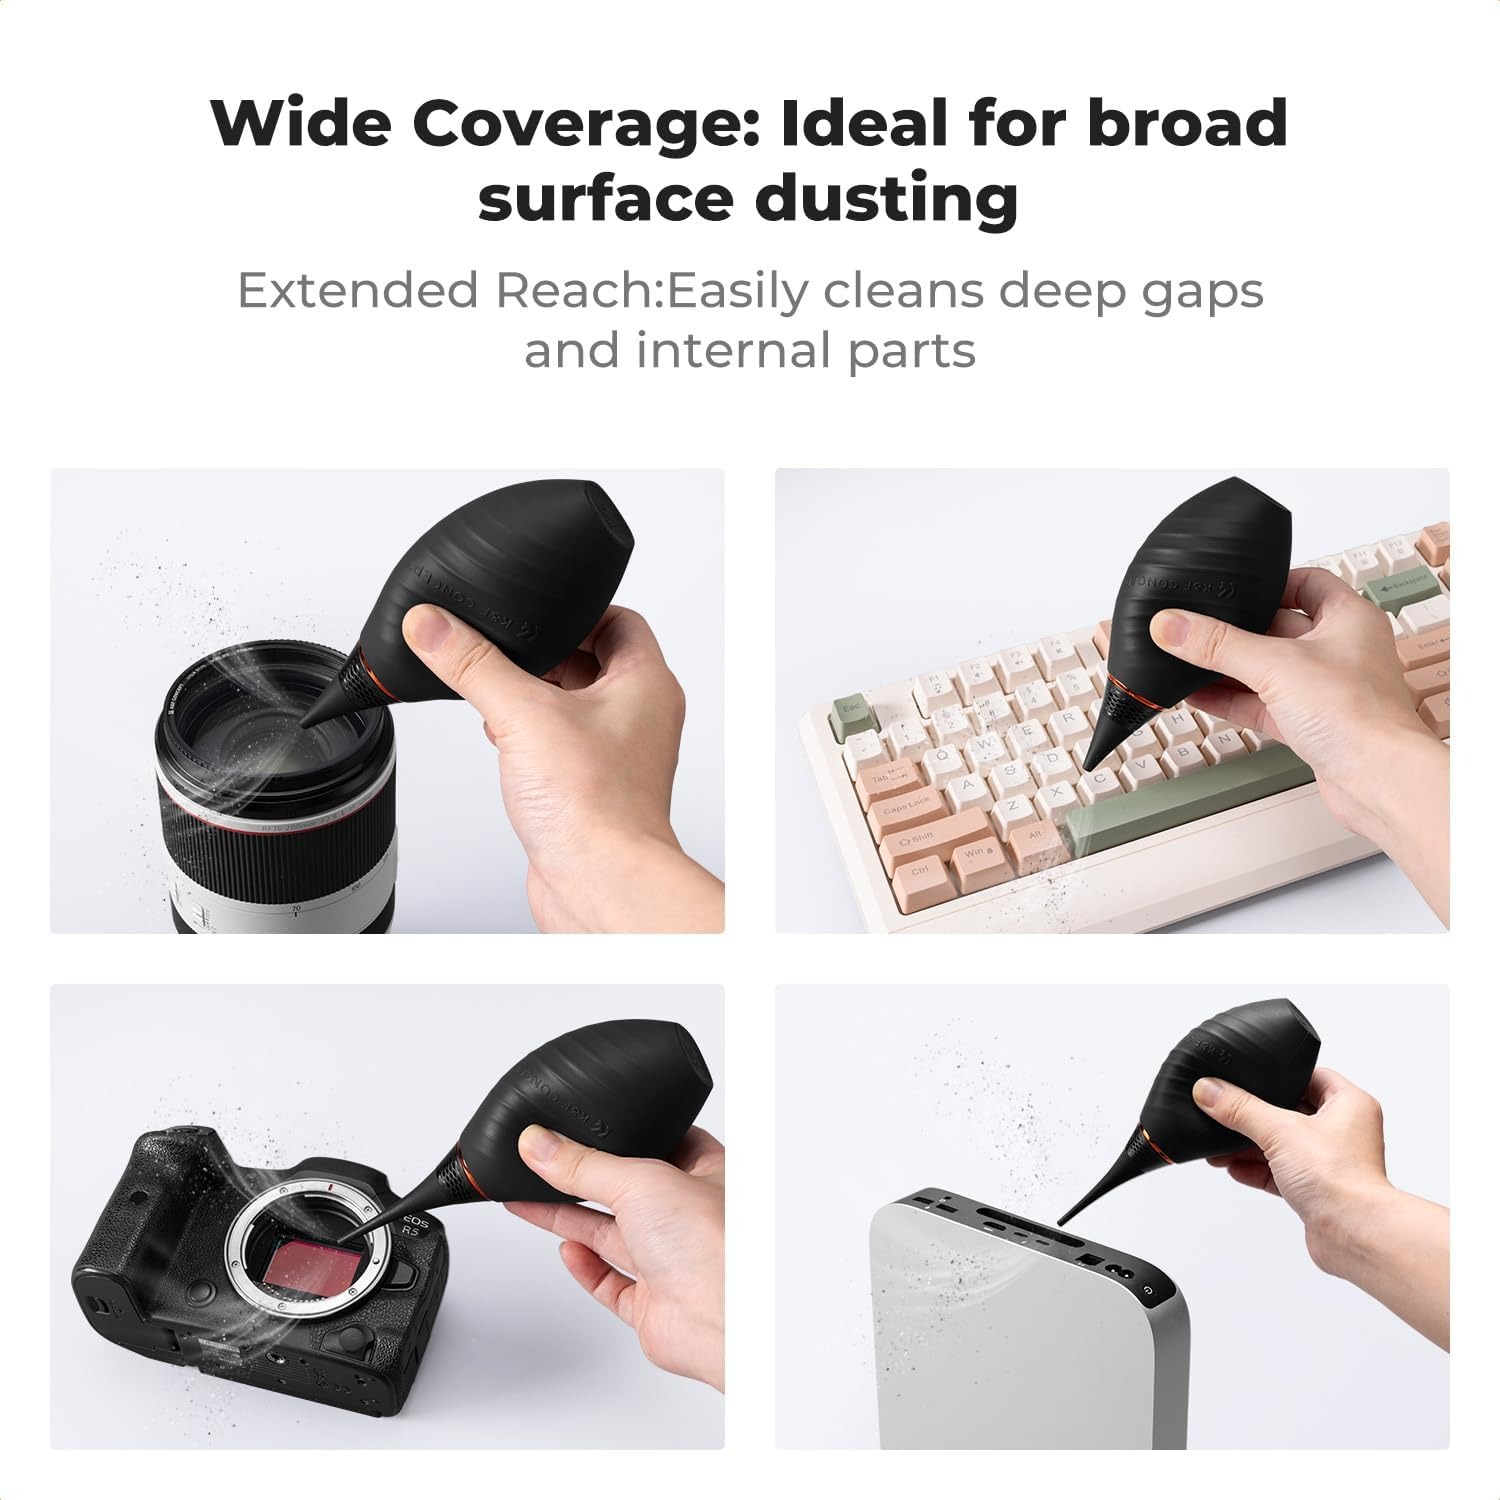
Two nozzles thread onto the body. The short one is wider and easier to aim for front elements, filters, mirrorless sensors and body panels. The long extension gets into places your fingers cannot, like a DSLR mirror box, a battery bay, or the channel around an eyepiece. Swapping takes a couple of seconds.
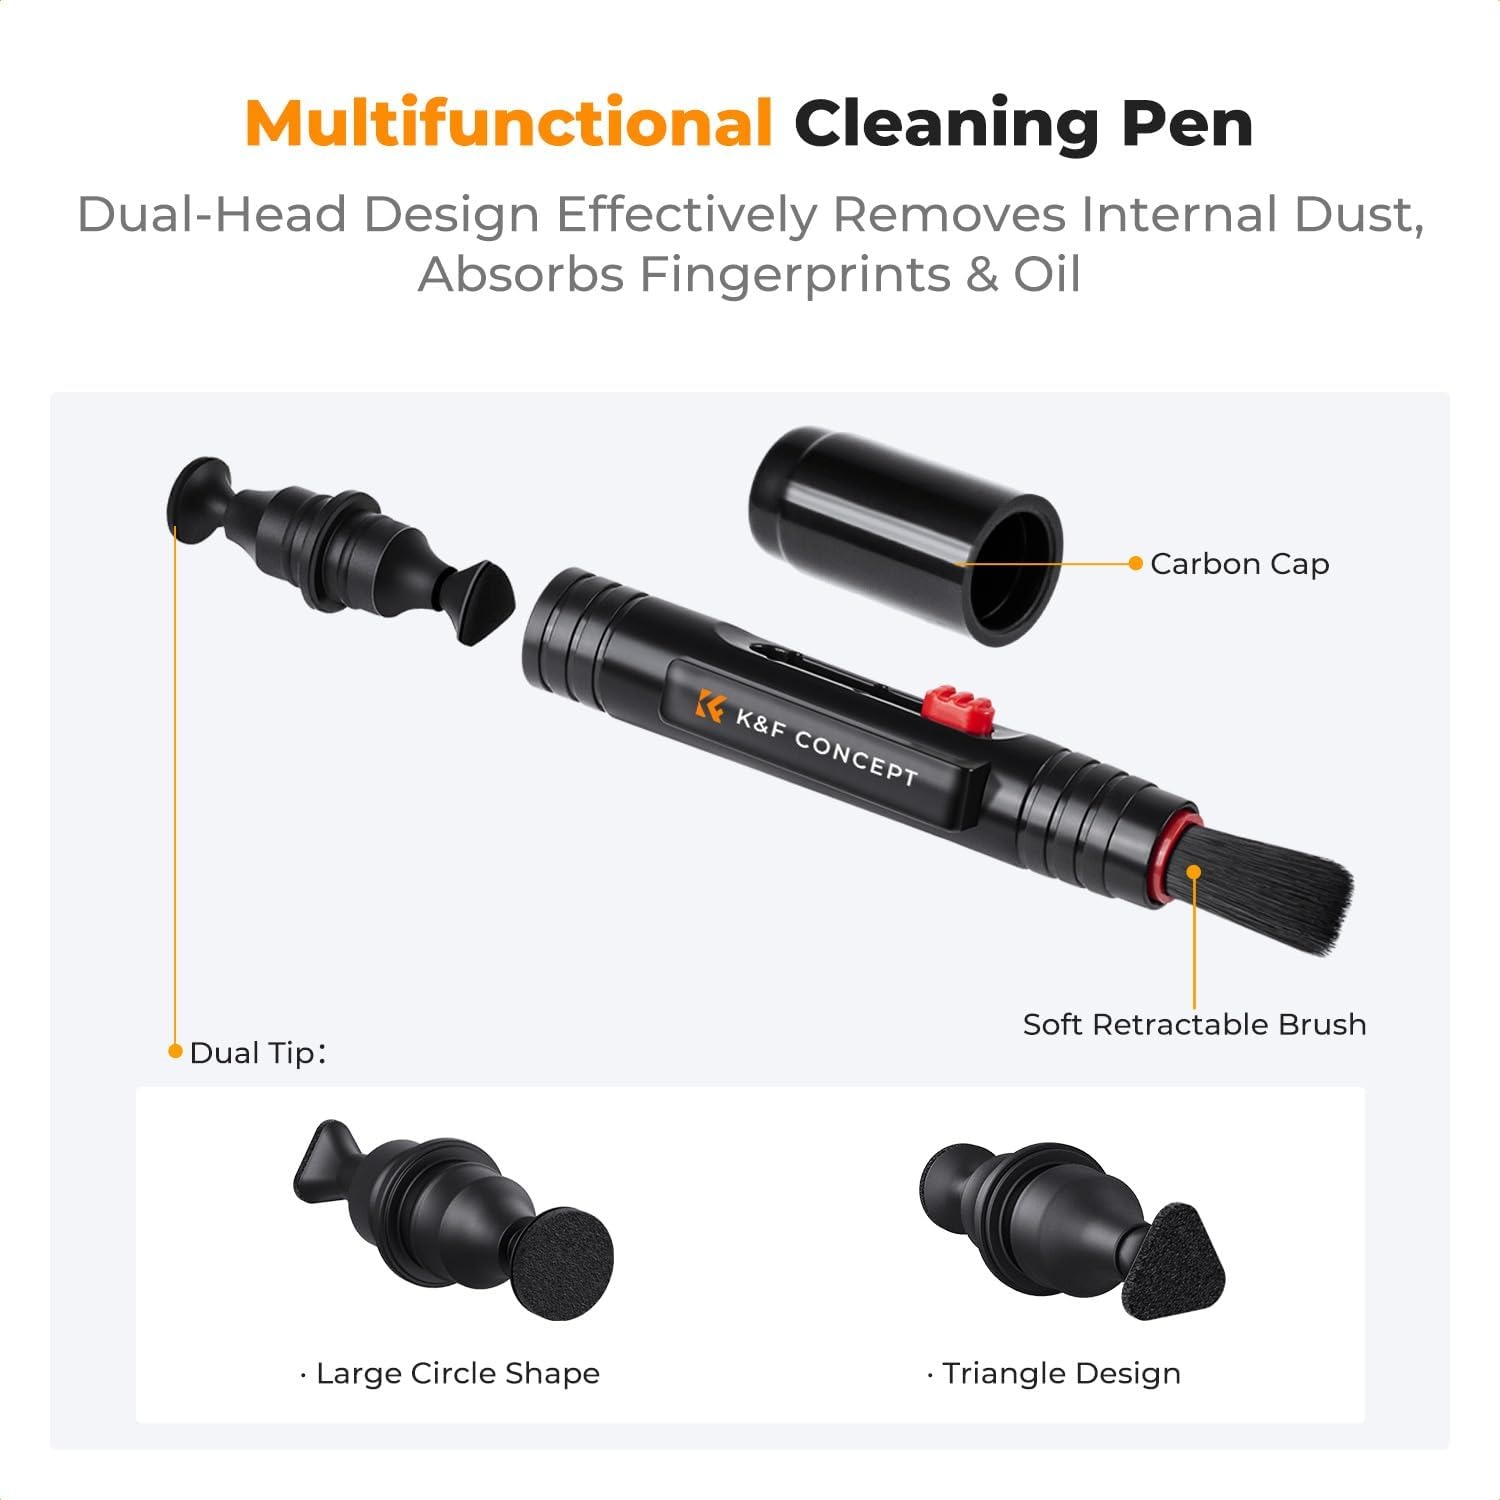
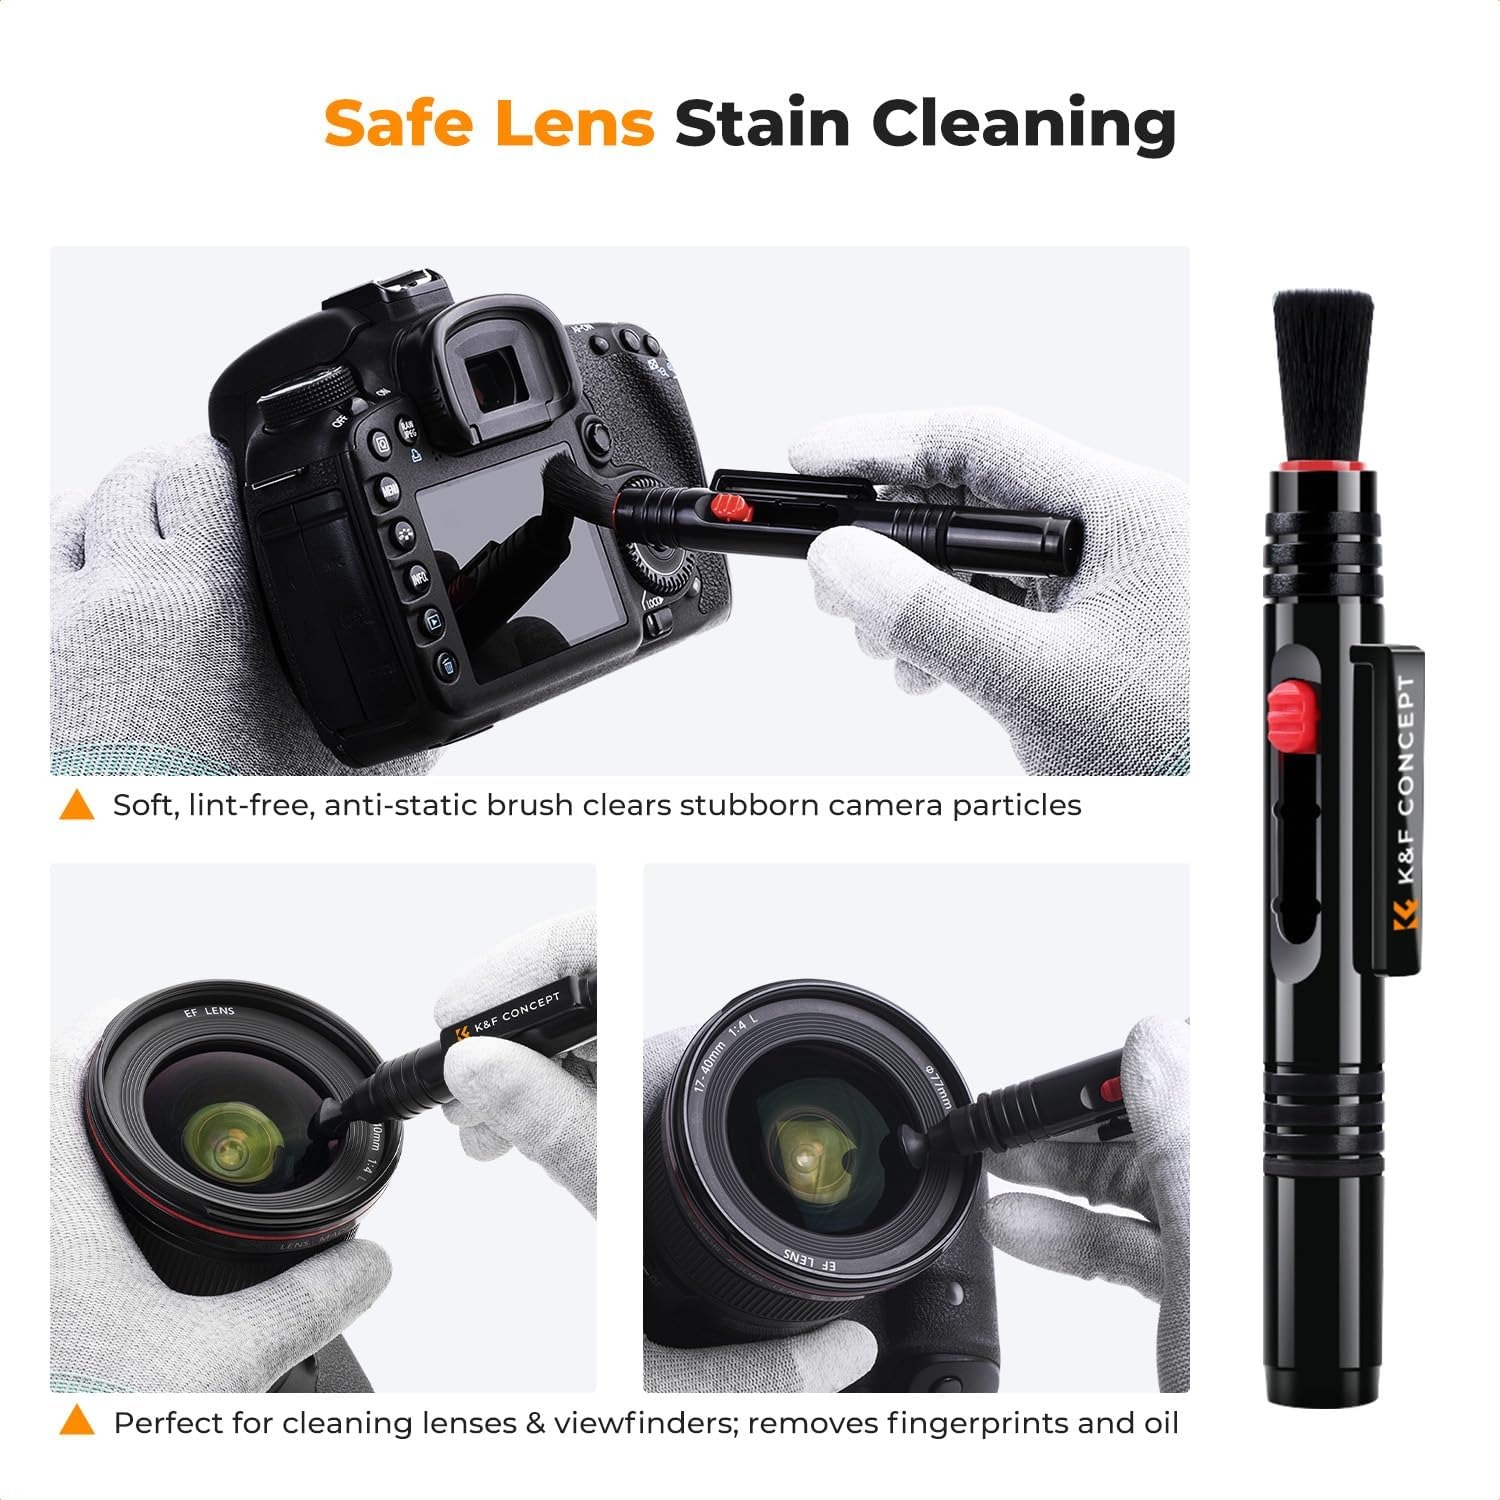
Brush second. The cleaning pen has a retractable brush, 4.5 inches long, for particles that air will not move. These tend to be the slightly sticky ones lodged in threads, in the gap where a zoom ring meets the barrel, or in the hot shoe slot. Brush away from the glass, not across it.
Dry contact third. The carbon tip on the other end of the pen deals with fingerprints and the faint oily film that builds on a front element over time. Light pressure, small circles, working from the middle outward. Because it is dry, there is no liquid creeping toward the edge of the element and into the barrel seal.
Fluid last. The 15ml bottle of optical cleaner is for things that genuinely will not budge, like sunscreen, sea spray, or a thumbprint pressed hard into a filter. Pump a small amount onto a microfibre cloth. Never onto the lens itself. Wipe, then buff dry with a clean section of the same cloth.
Why the cloths come sealed
Six microfibre cloths, each 15 x 15cm, each in its own vacuum pack. This is not packaging theatre.
A microfibre cloth works by trapping oil in tiny fibres. It only does that job while it is clean. A cloth that has been loose in a camera bag for six weeks has collected sand, lint and whatever else lives in the bottom of your bag, and every one of those particles is harder than the coating on your lens. Dragging that across glass is how a lens picks up fine scratches that never come out.
Opening a sealed pack guarantees the cloth has touched nothing. It is the single easiest way to avoid the most common cause of self-inflicted lens damage.
The 15 x 15cm size is also chosen well. Fold it into quarters and you have four clean faces to work through before it needs washing. The edges are cut to resist fraying, so pulling one out in a hurry does not leave fibres stuck to your front element.
Who this suits
New camera owners. If you have just bought your first interchangeable lens camera, this is the accessory that stops small problems becoming expensive ones. Cleaning gear is rarely the first purchase people make, which is exactly why it makes such a useful gift.
Travel and landscape shooters. Beaches, deserts and windy clifftops are hard on equipment. Salt spray and fine sand are the two worst things for glass, and both need dealing with the same day rather than next week. At 218 grams the whole kit comes with you.
Anyone who changes lenses outdoors. Every lens swap in open air is an invitation for dust to land on the sensor. You cannot avoid it, but you can clear it in a minute with the long nozzle.
Videographers and content creators. Dirty glass shows up far more obviously in moving footage than in a single still, especially when you are shooting into a light source and every smudge turns into a haze.
People with more than cameras. The kit is listed as working on digital cameras, computers, mobile phones and other equipment. Phone lenses, laptop screens, binoculars and spotting scopes all respond to the same routine.
How to choose a cleaning kit
If you are comparing options, here is what actually separates a good kit from a cheap one.
Look at the blower first. Soft tip, decent air volume, one-way intake. A hard plastic nozzle on a cheap blower is a scratch waiting to happen, and no intake valve means it recycles dust. The nozzle options matter too, since one length cannot reach both a front element and the back of a mirror box comfortably.
Check how the cloths are packaged. Loose cloths in a plastic sleeve are a false economy.
Check the fluid delivery. A pump head gives you a controlled dose on a cloth. A squeeze bottle gives you a puddle, and puddles run into seams.
Then ignore the sticker count. Kits advertising twenty or thirty pieces often pad the number with cotton swabs and sachets you will never open. What matters is whether each piece earns its place, and whether the set is small enough to actually travel with you. The best camera maintenance kit is the one in your bag, not the complete one sitting in a drawer at home.
Looking after the kit itself
Keep the blower nozzle covered or bagged so it does not fill with dust while it sits in your bag. Before the first puff of any session, squeeze it two or three times pointed away from your gear to clear anything that has settled inside.
Retract the pen brush after every use. Bristles left out get bent, and bent bristles push grit around instead of lifting it.
Store the fluid upright with the pump closed. Keep the whole kit dry, since it is not water resistant.
Wash cloths on a gentle warm cycle with no fabric softener, because softener coats the fibres and destroys their grip on oils. Air dry them. When a cloth stays grey after washing, retire it to body and bag duty and open a fresh pack for glass.
A quick word on restraint
More cleaning is not better cleaning. Every contact wipe puts a small amount of friction on a lens coating. Do it weekly for years and you will see the effect.
Blow dust off before you shoot, because that takes ten seconds and costs nothing. Save the pen and the fluid for marks you can actually see affecting an image. A lens with a few specks of dust on the front element produces photos that are, in practical terms, identical to a spotless one. A lens with worn coatings does not.
Sensor dust is different and worth dealing with, because it shows up repeatably in the same spot at narrow apertures. Air first, always. If air does not shift it after several attempts, that is the point to consider a professional clean rather than escalating to something more aggressive yourself.
The short version
Dust and fingerprints are normal, not a sign you have done something wrong. The fix is simple if you work in the right order.
Air lifts the loose stuff and handles most problems on its own. The brush gets into threads and crevices. The dry carbon tip takes care of fingerprints. The fluid and a fresh sealed cloth finish anything genuinely stuck. Six individually packed cloths mean you never have to use a dirty one, and the whole set weighs about as much as a spare battery, so it comes with you.
Buy it once, keep it in the bag, use it before shoots rather than after disasters. Your images stay sharp, and your lenses keep their resale value.